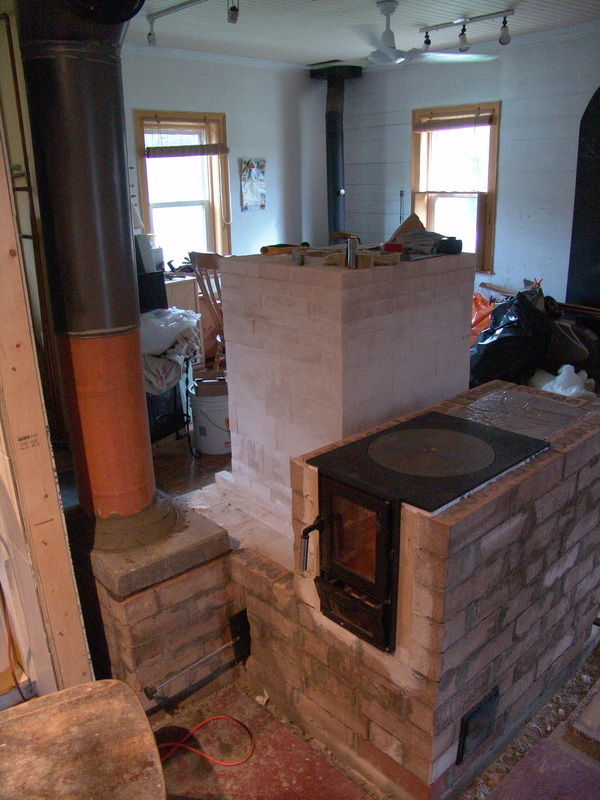
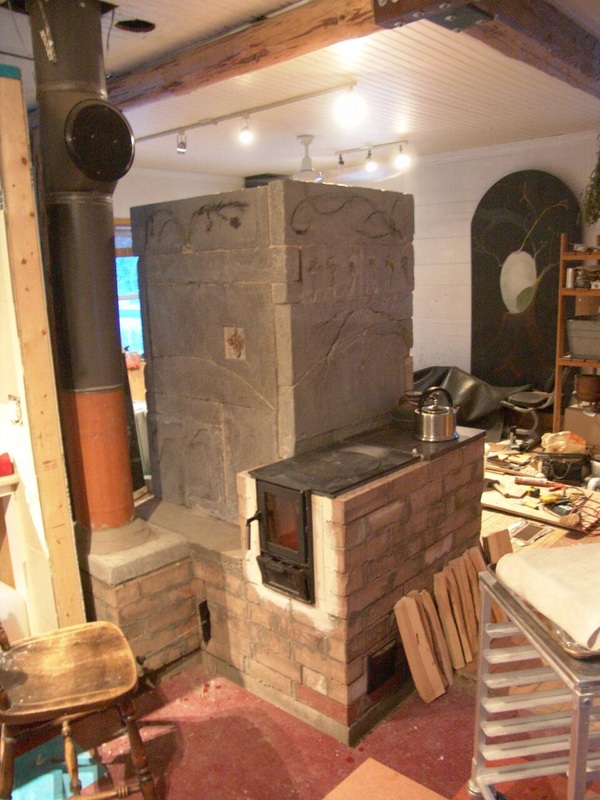
The construction sequence for building a contra-flow masonry heater and cook stove in our home as a primary heat source.
My wife and I have lived in this 100+ year old, wood-framed, farm house for more than 5 years. Our primary heater was an forced air oil furnace in the basement. It was noisy and the cost of the oil was a significant hit during the winter when our cash flow was at it's lowest. We decided in 2014 to build a masonry heater to replace the oil furnace.
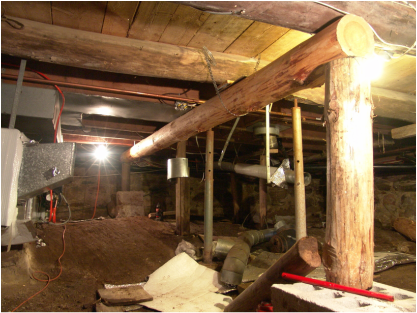
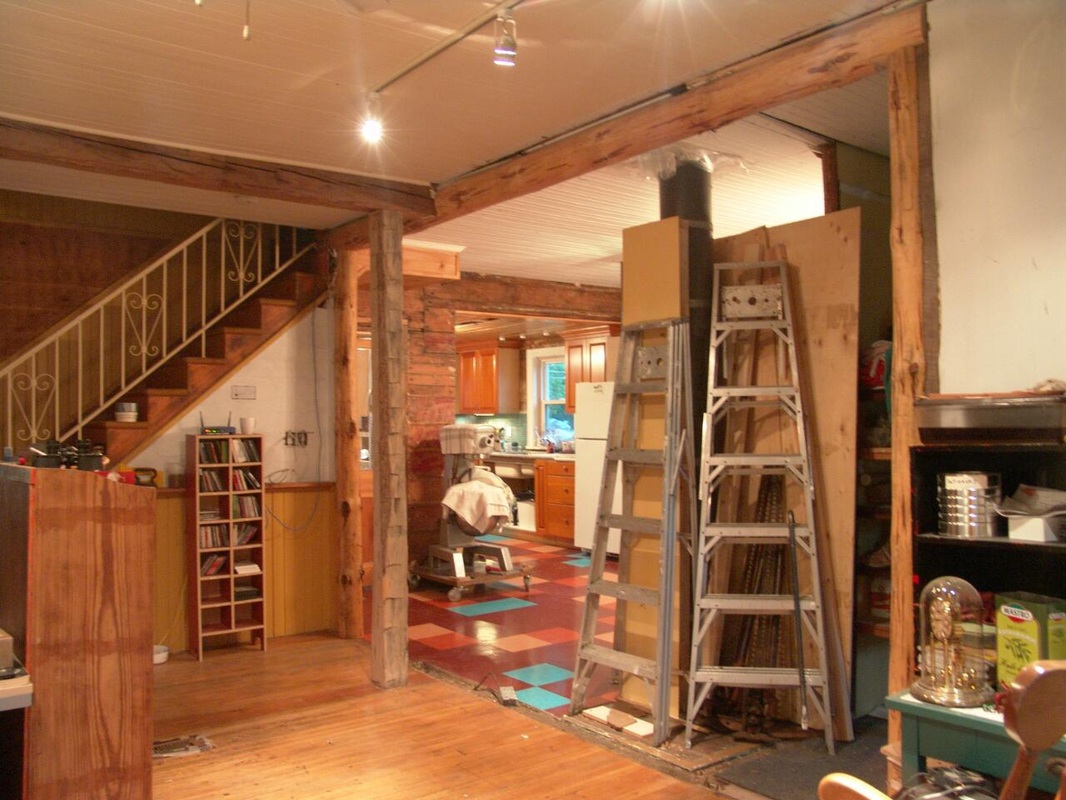
This was going to require quite an extensive renovation of the main floor of the house but at least part of that was going to be necessary anyways. Since this is an old house, and the basement is unfinished with much of it exposed shield rock, the supports for the main floor needed to be redone.
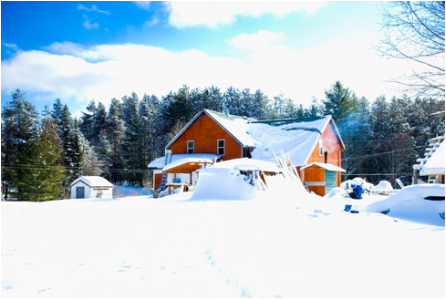
I thought a winter scene was appropriate for the subject. This is the north side of our house which is situated on 48 acres of woodland.
Background and reasoning
Before I get started describing what we did I need to talk about my skill set and the reasoning for both building the heater and the choice of materials.
I'm in my 60's now and for most of my life I've been a tradesman and have learned a great deal over the years both through doing and observing. I'm an experienced ceramic tile and marble installer and concrete work seems to have been a genetic predisposition in my family. I've done plenty of block and brick work and the bakery oven I build (you can see the shelter for it in the picture above right next to the house to the right) has provided a great test bed for the materials I planned on using in the masonry heater.
However, I have never built a masonry heater before and while I hope you get some benefit from my description do not take it as demonstrating any sort of expertise with this type of heater. The work is physically demanding and the stresses generated by heating up a large pile of firebrick and cement means a good level of precise workmanship is essential.
The primary reason for building the heater was to eliminate the dependence on oil and reduce the cash drain that buying fuel demands; we have a ready supply of firewood right on the property. Aesthetically the oil furnace is smelly and noisy and power failures are an issue.
Our bakery is a very modest business and so our budget for the materials that went into the heater needed to be quite modest as well. I choose to use exclusively low duty firebrick. I used low duty brick in our bakery oven and they have stood up very well to intense use over the past 5 years, showing no significant wear on the hearth. I choose concrete for my cladding material both from a cost basis as well as aesthetics and familiarity.
One more very important point. Our summer season in the bakery is extremely busy so my construction time was quite tight thus some compromises needed to be made, particularly with regards to my concrete work and the level of finish I was going to achieve before the heater needed to be pressed into full service. That will become clear as we move along in the description.
Thanks: Marcus Flynn
I need to extend my thanks to Marcus for his mavelous website http://www.pyromasse.ca
His articles are my primary references for developing the design of my own combined heater and cookstove.
An excellent additional information site is http://mha-net.org
His articles are my primary references for developing the design of my own combined heater and cookstove.
An excellent additional information site is http://mha-net.org
Preparing the basement
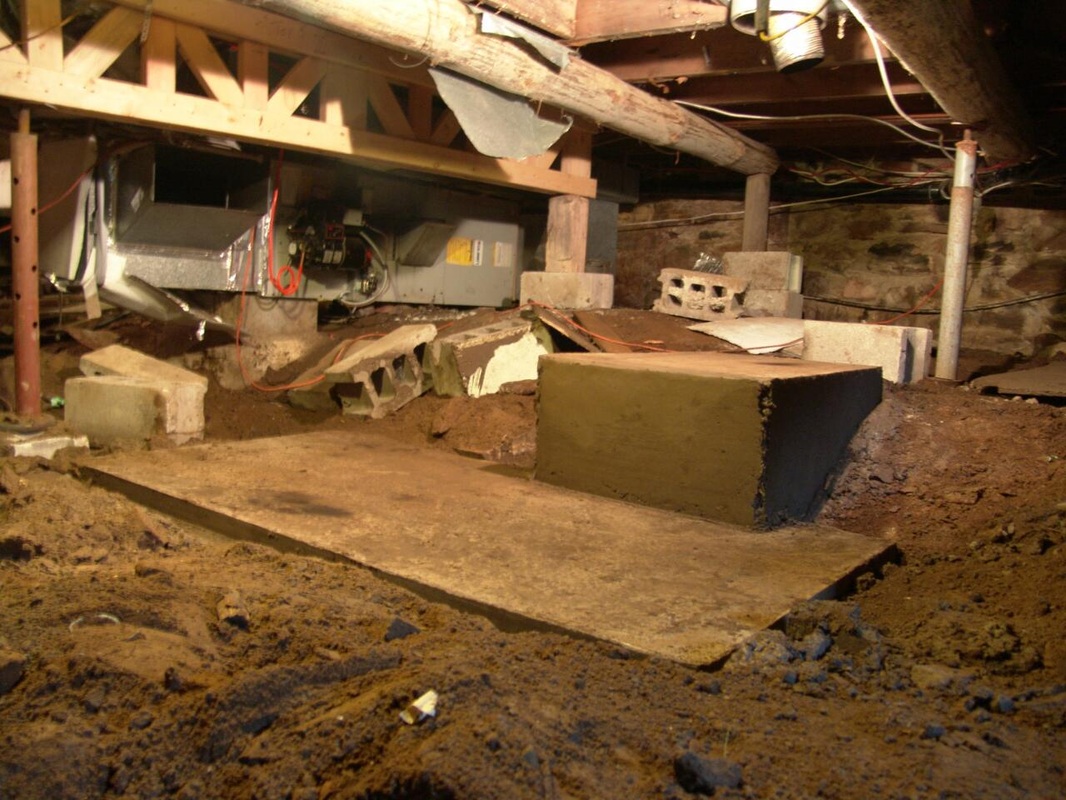
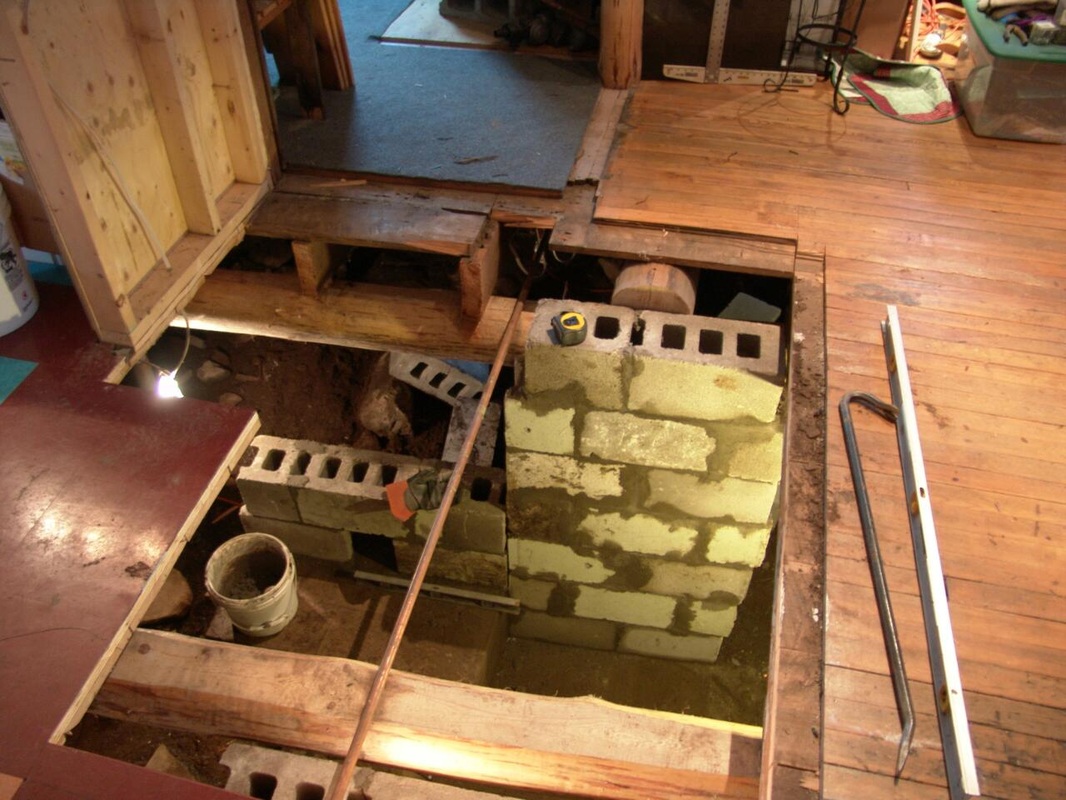
As mentioned earlier the basement is dirt and shield rock. Wood beams needed to be installed so a hole could be cut in the main floor and a foundation poured to support the heater.
The concrete needed to be two levels to accommodate the shape of the shield rock.
The concrete needed to be two levels to accommodate the shape of the shield rock.
Main floor prep.
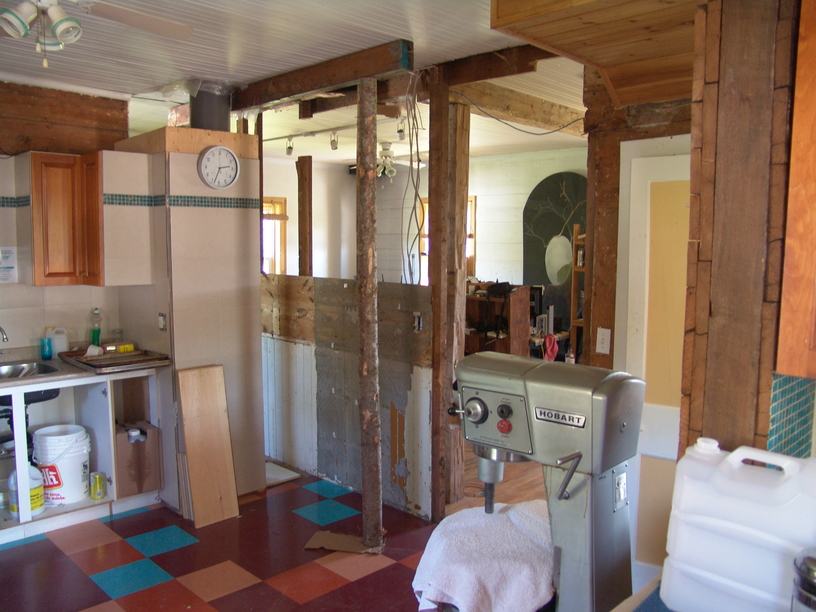
A wall needed to be removed to provide space for the heater and gain access to the pre-existing chimney that the heater would use.
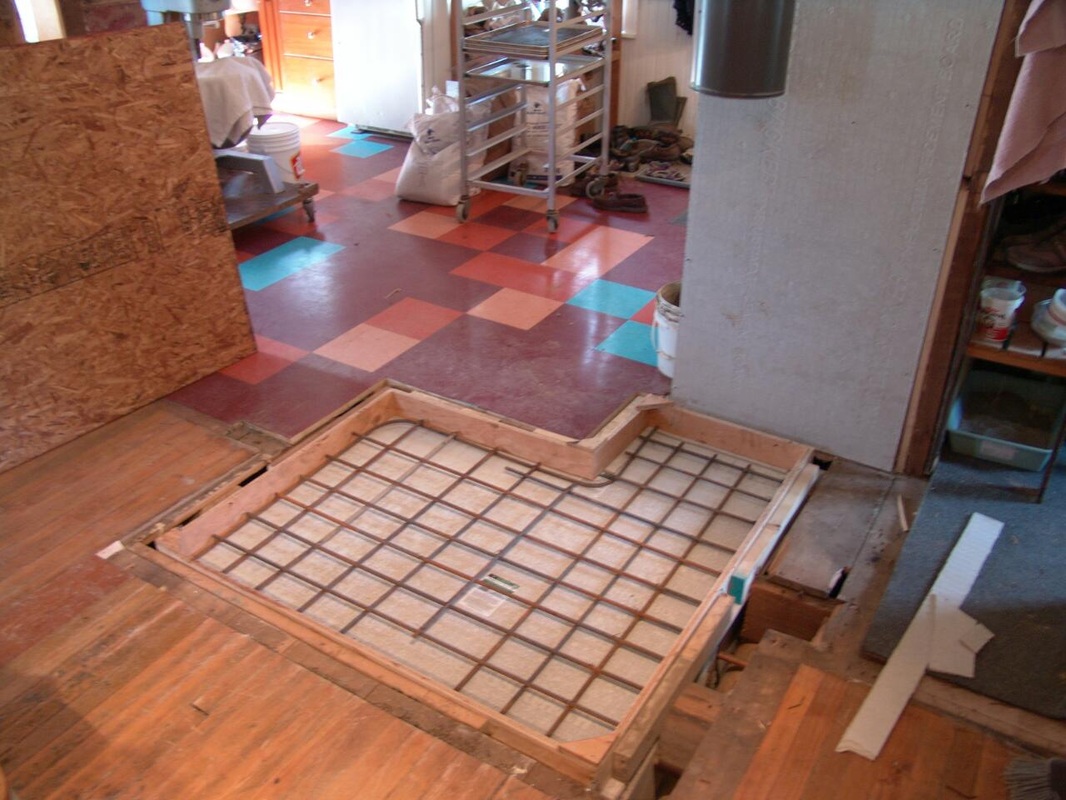
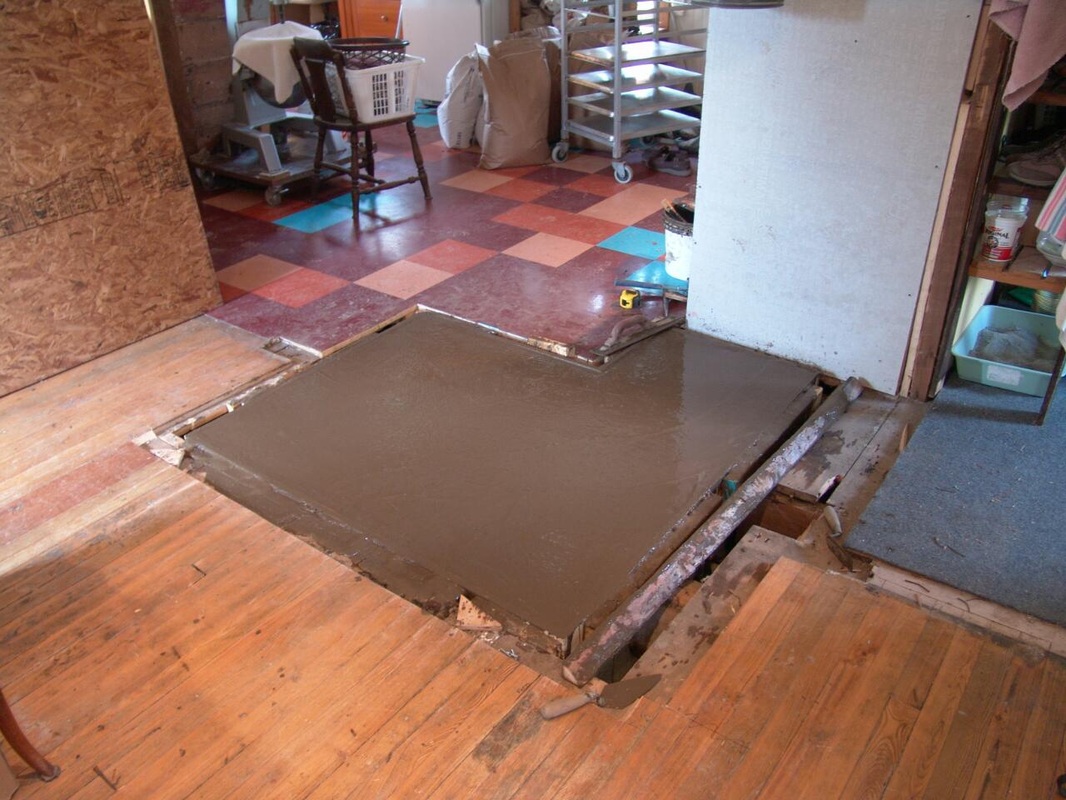
Main floor slab
The slab is well supported and has plenty of rebar. I used a double layer of cement board underneath.
|
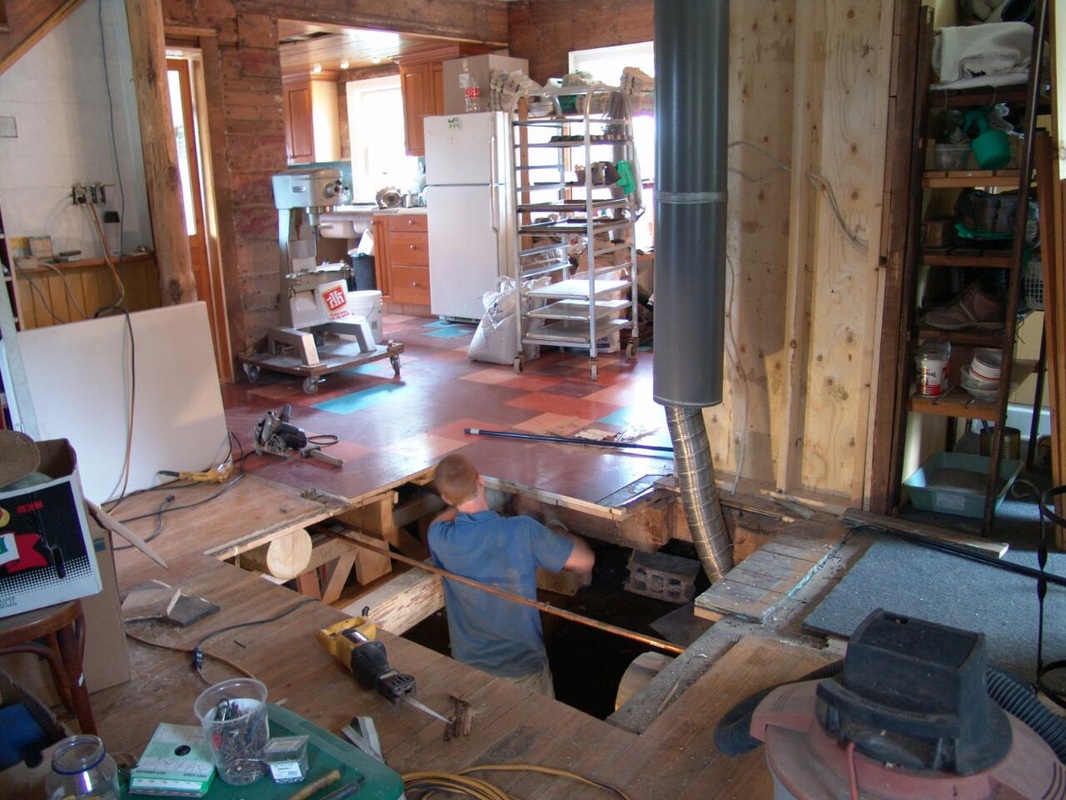
So, there is a giant hole in the middle of our house. That's my son in the hole. The chimney served the oil furnace with a liner, which we pulled out. The insulated chimney was in great shape (thank goodness).
Cement block was used to establish the support for the main floor slab. |
Brick base and layout
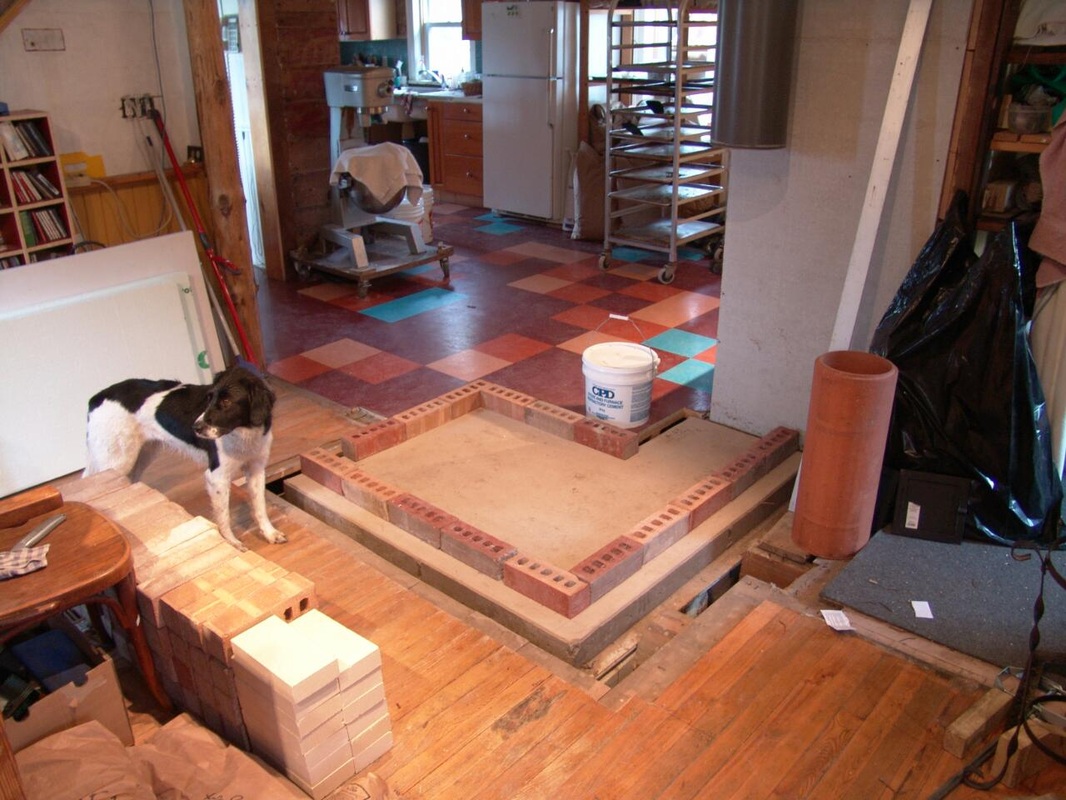
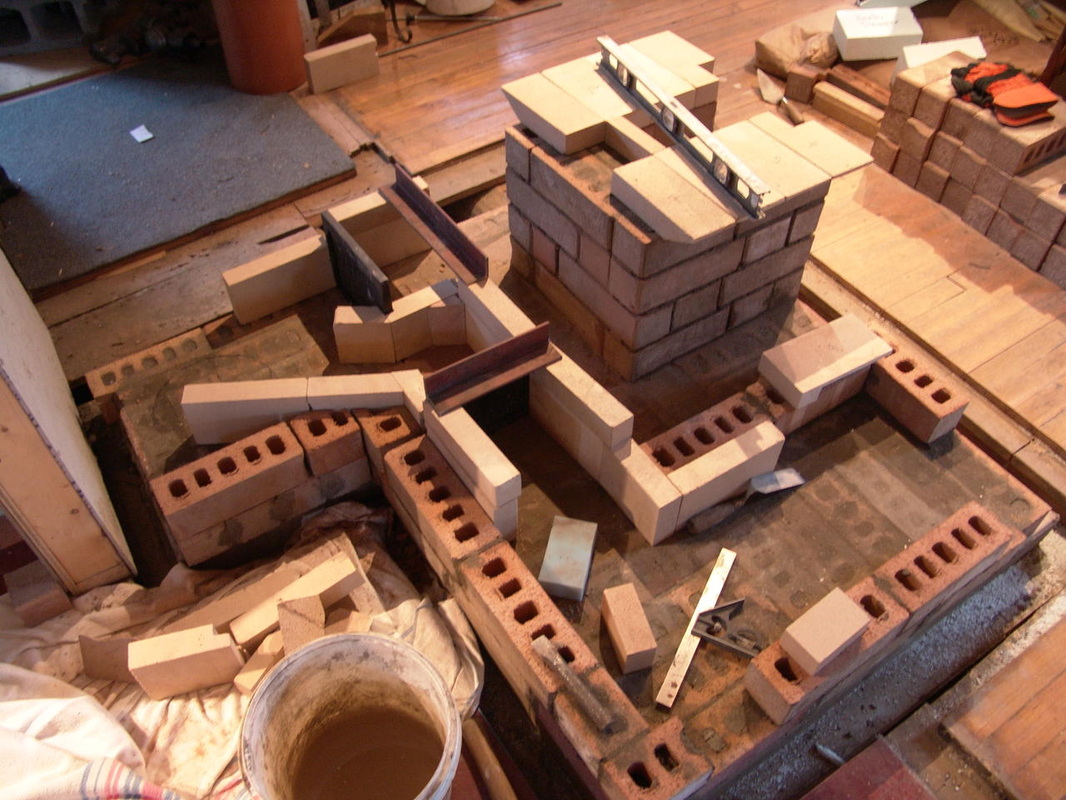
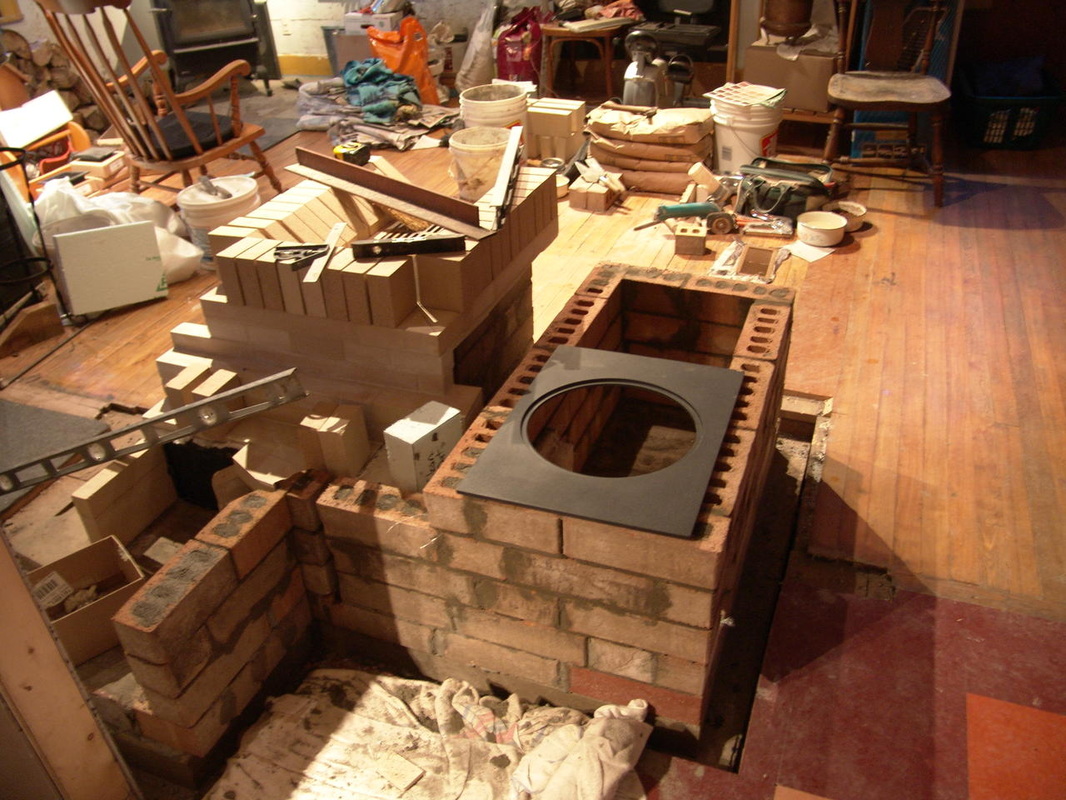
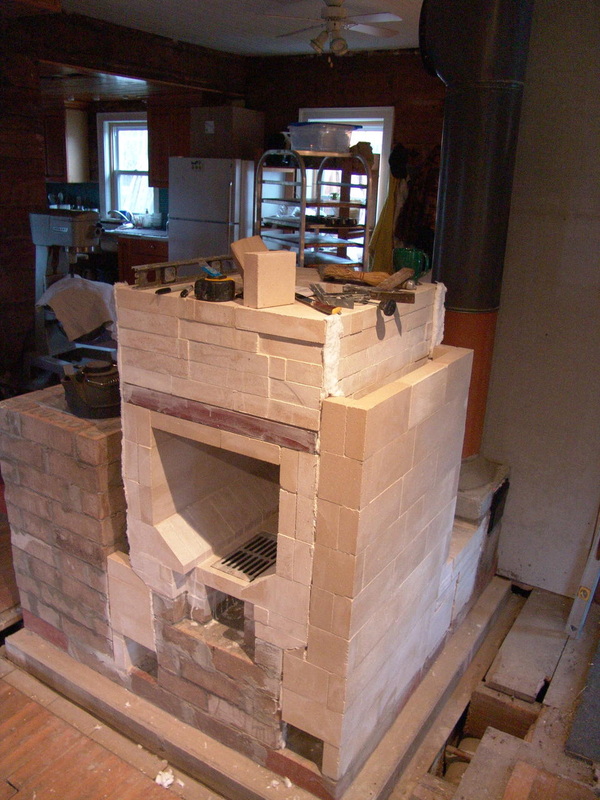
The footprint for the heater and stove was quite constrained and establishing a good layout for the smoke channels was tricky. This lead to a need to be unconventional with regards to the stove layout.
|
That's Pepper the bakery dog above; all our customers love her.
While it's not clear yet in the pictures the stove and heater will be sharing a brick divider. Obviously as well they will be sharing the chimney. There was no option in that regards, there was no room for a second chimney. At least initially I could workup both the stove and heater. |
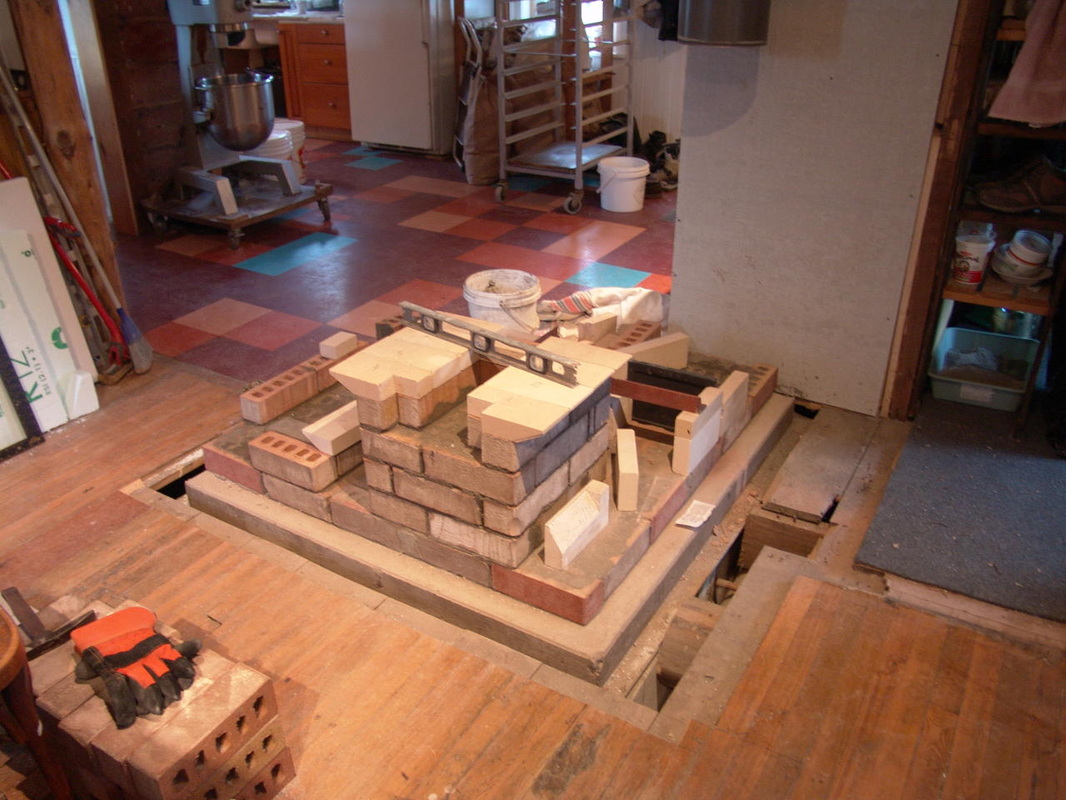
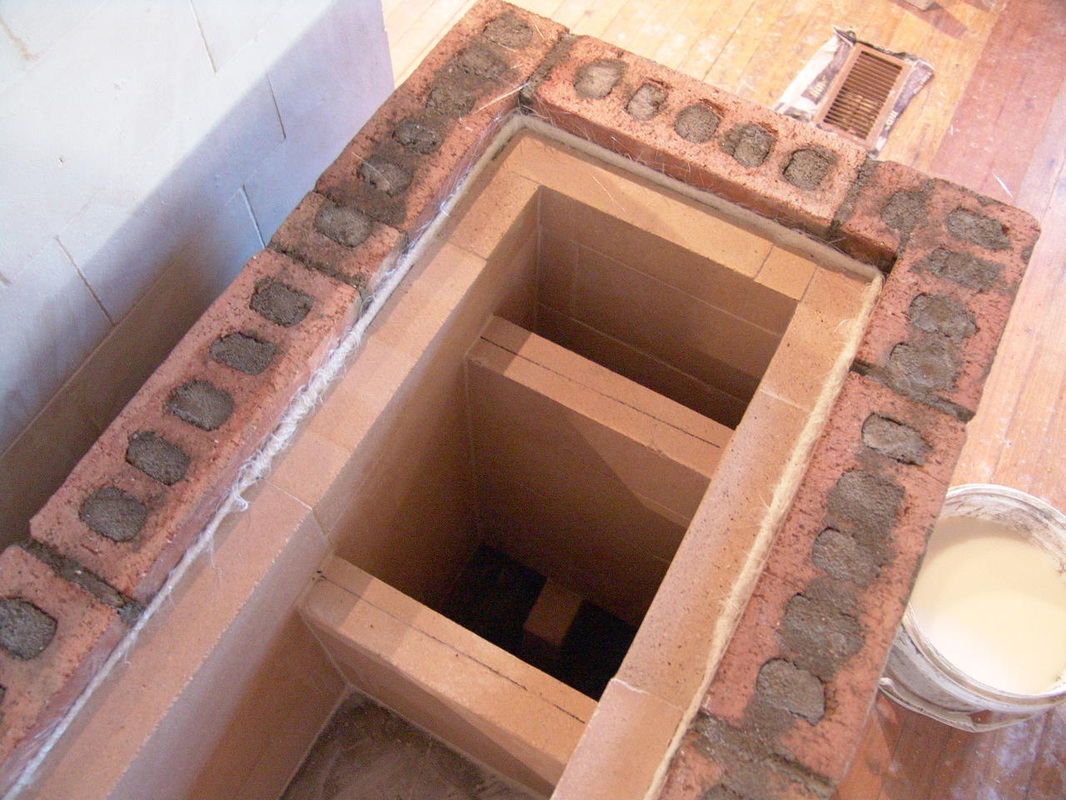
As mentioned earlier space was tight and you can see the smoke channel from the stove also serves as the back wall of the heater channel.
I was a bit concerned that perhaps I wouldn't be able to use both stove and heater at the same time but it turned not to be a problem. |
Cookstove configuration
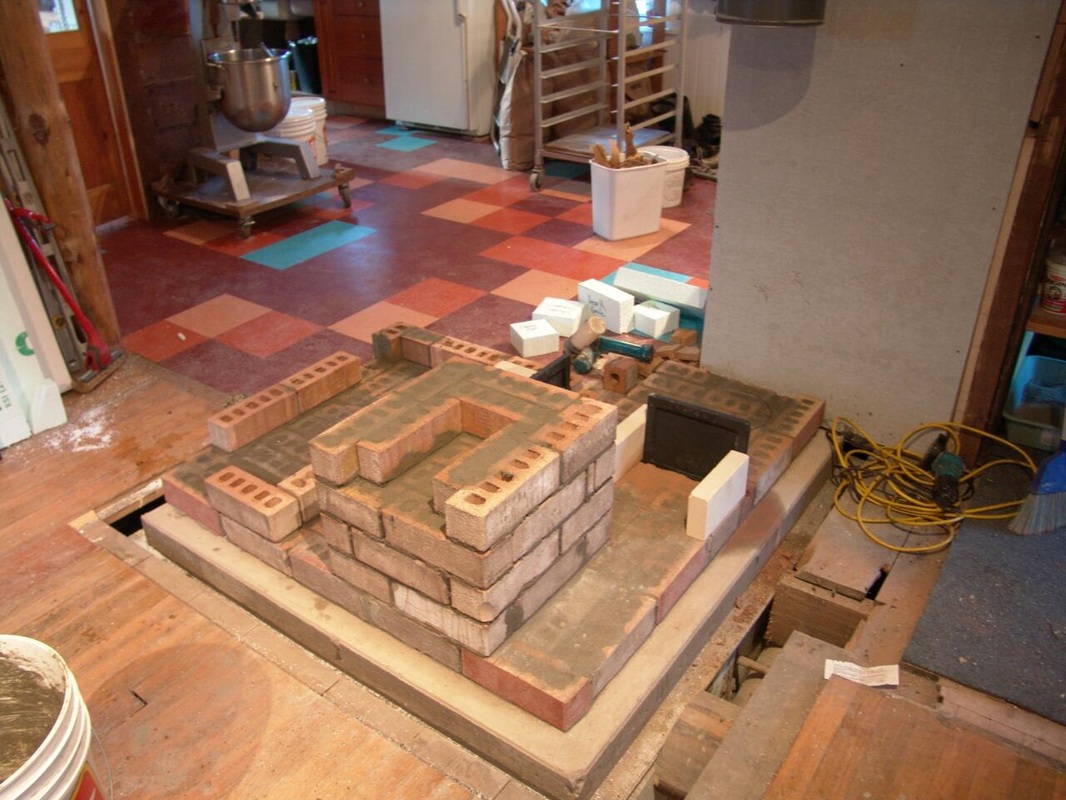
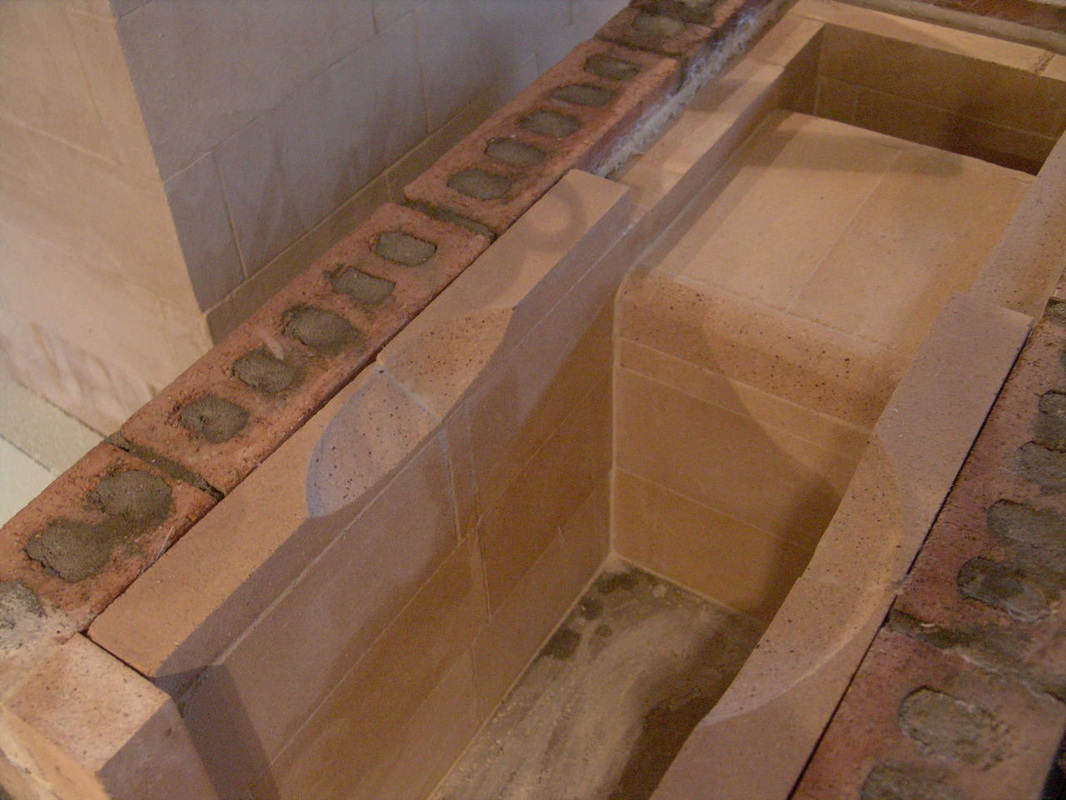
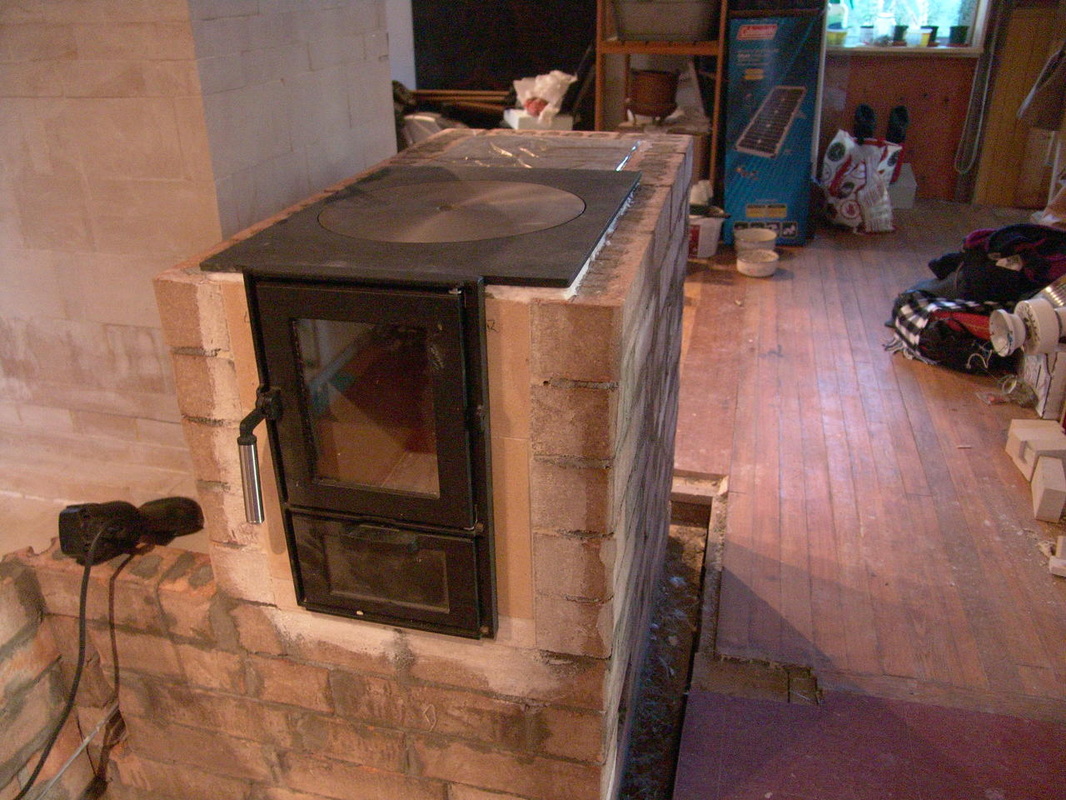
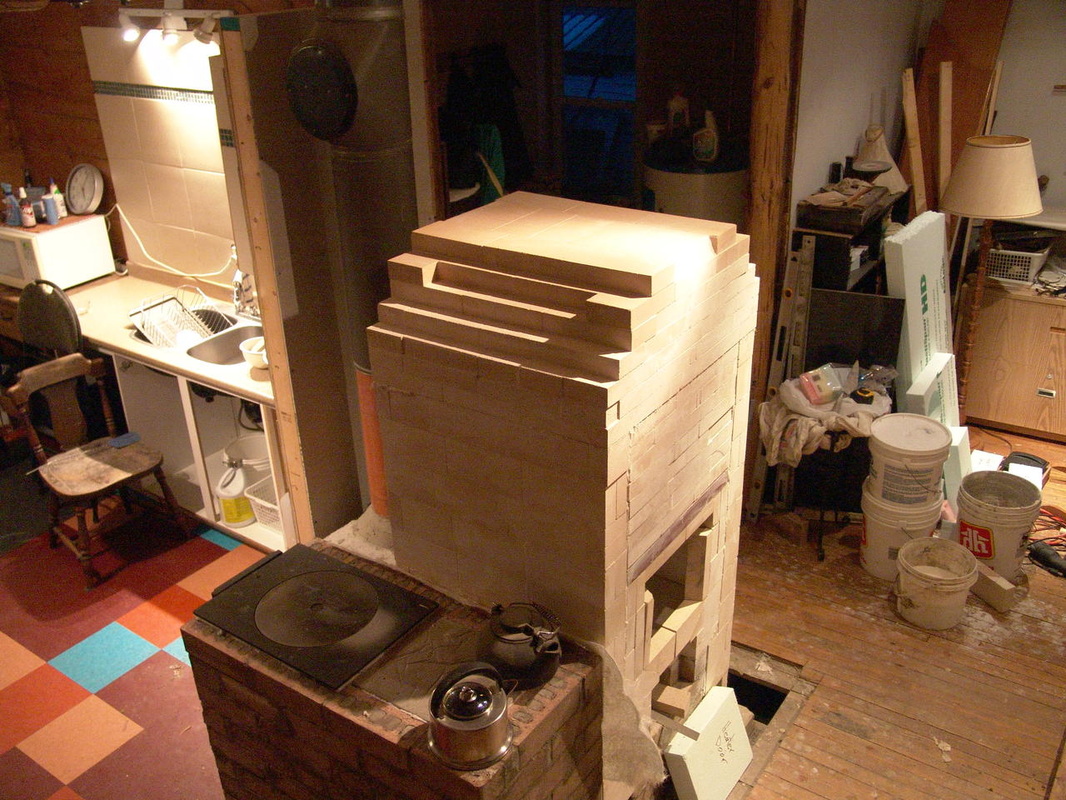
Due to the space constraints I couldn't build the cookstove with the convention fire/smoke path; which has the fire (from the viewpoint of the stove door) moving to the left or right. In my case I had to put the stove door on the end of the stove and have the fire move from front to back, away from the door.
Another result of the space limitation is that the firebrick needed to be laid as shiners.
Another result of the space limitation is that the firebrick needed to be laid as shiners.
|
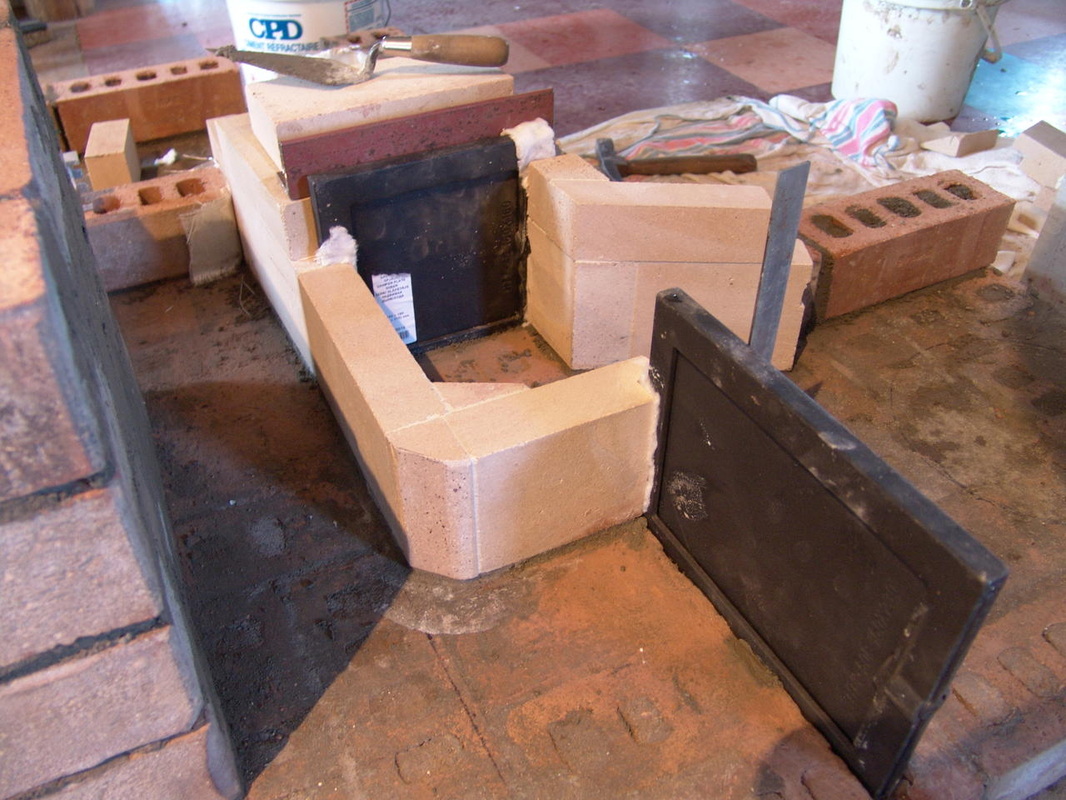
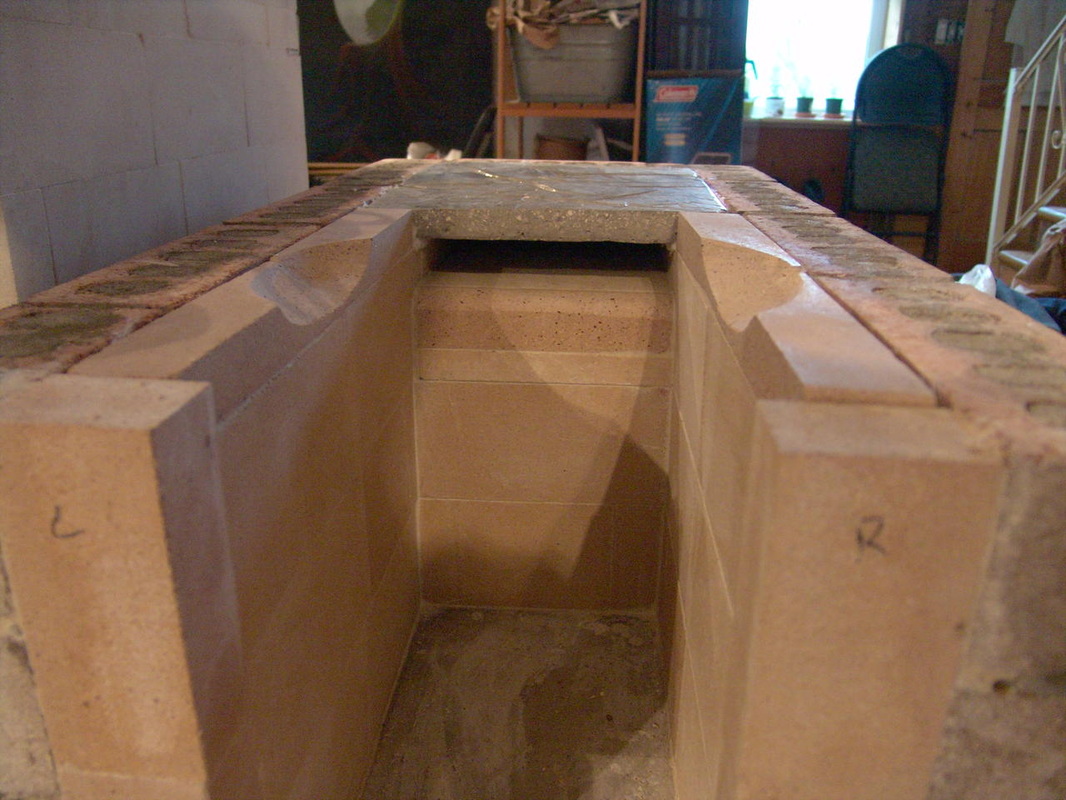
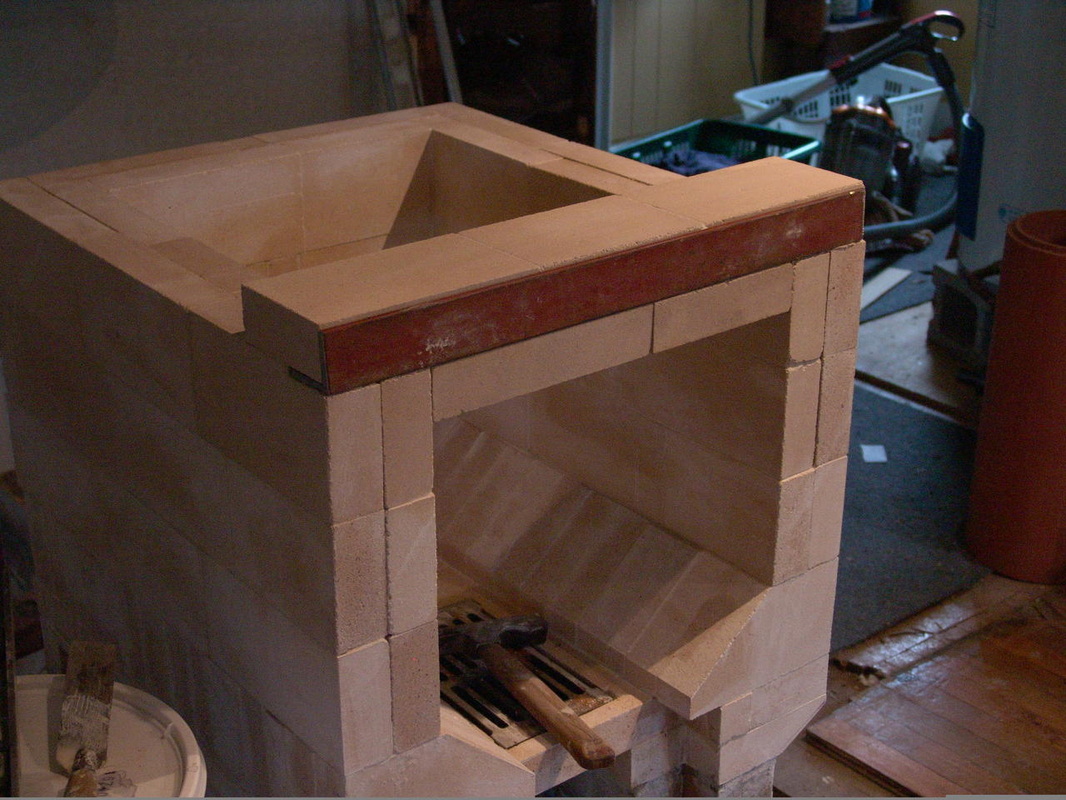
I was using tapcon screws to secure the doors and I was concerned about them holding in the conventional bricks so I framed to door with firebrick. I plan on cladding the stove with copper so the look of the brick wasn't a concern.
The divots cut into the firebrick are to accommodate the flanges on the bottom of the big stove lid.
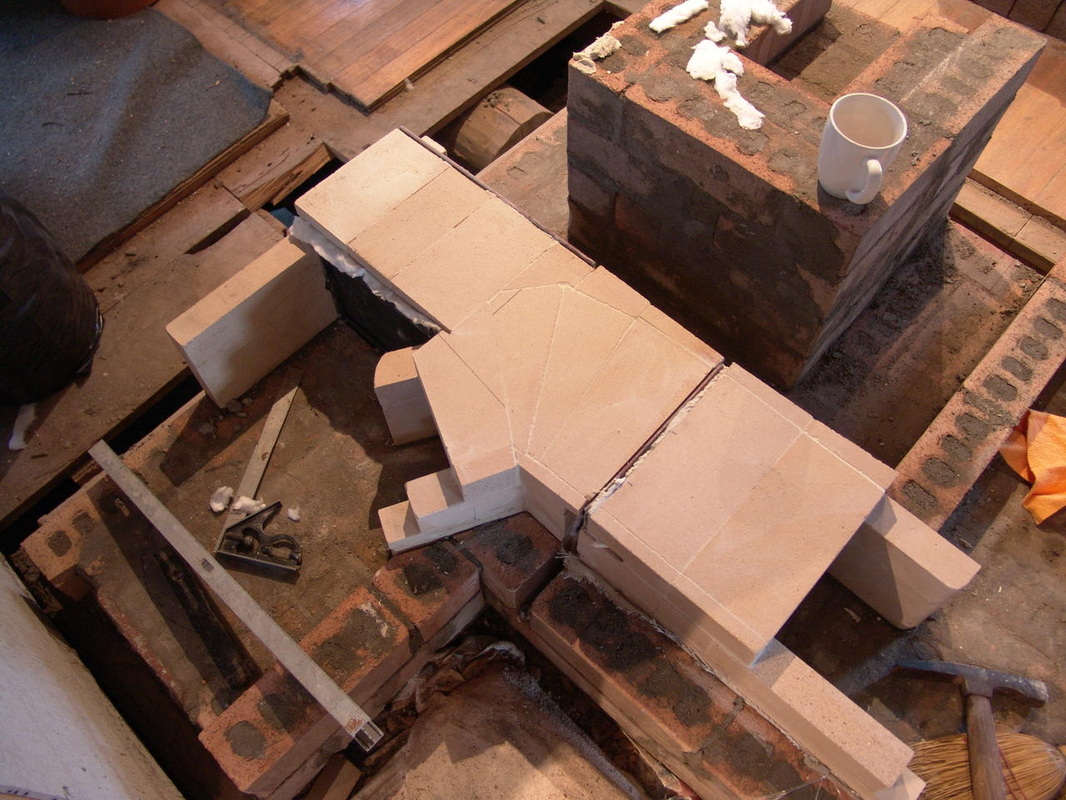
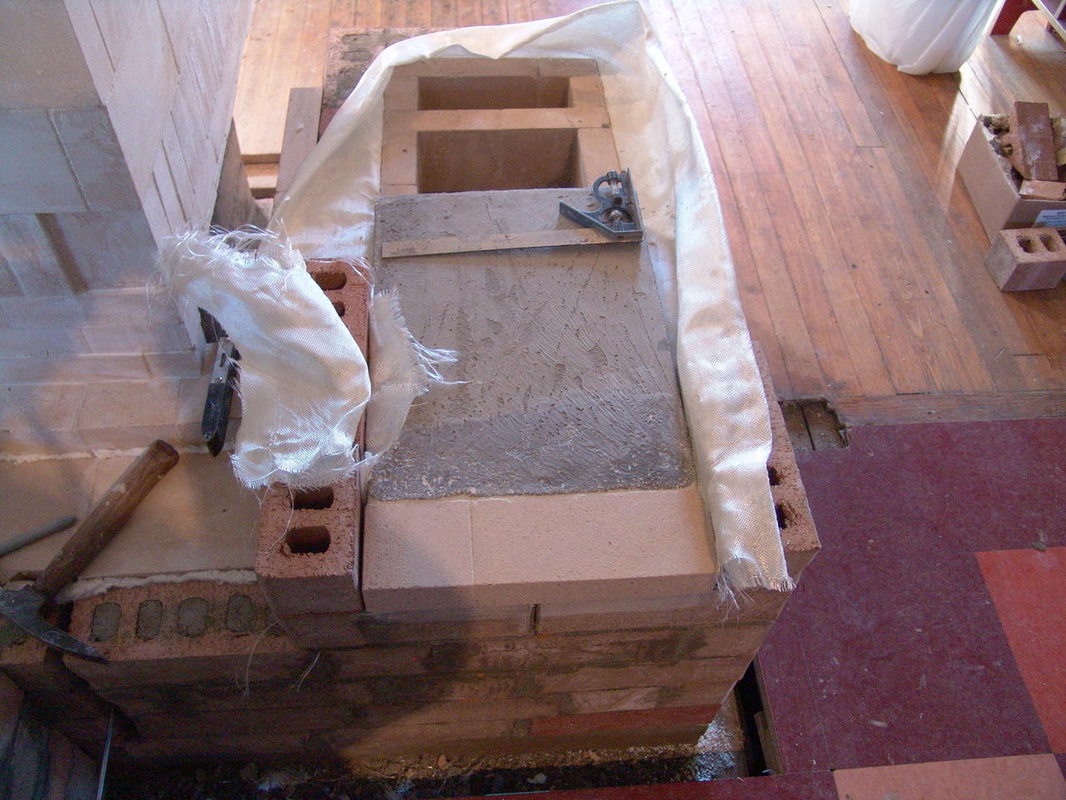
I poured a small slab to temporarily cover the back part of the stove top that wasn't covered by the cast iron top. The slab would be replaced with a thick piece of steel. I used castable refractory cement for the slab. |
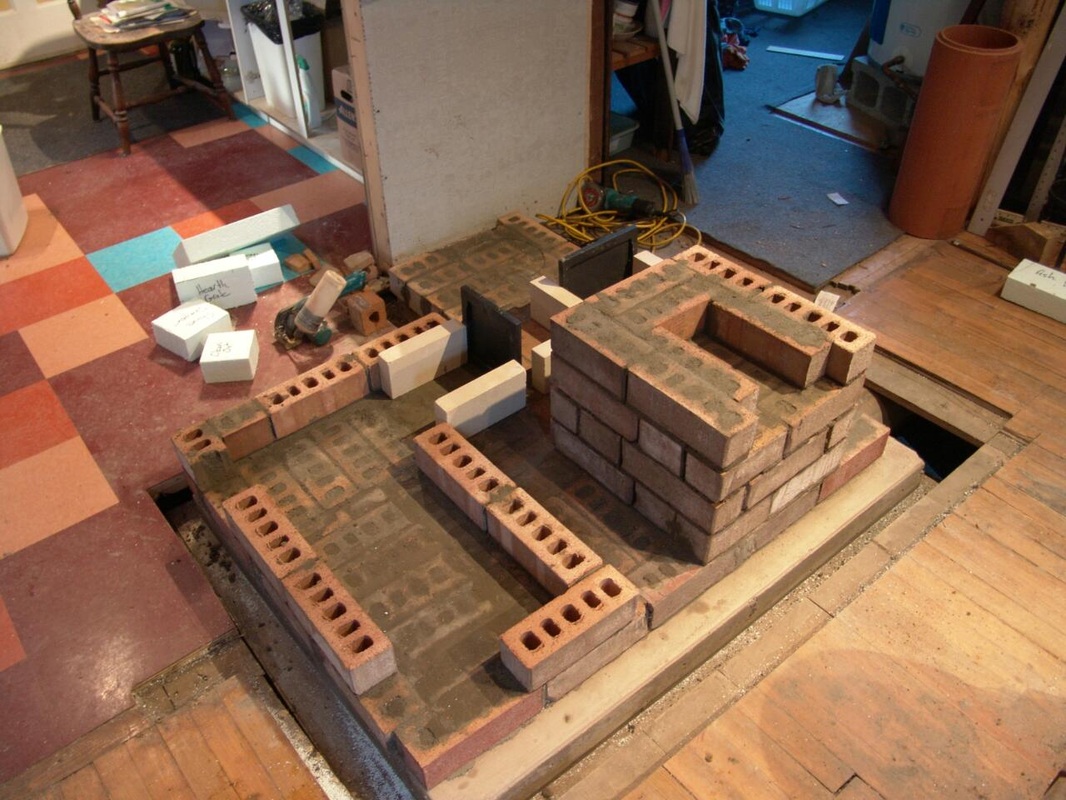
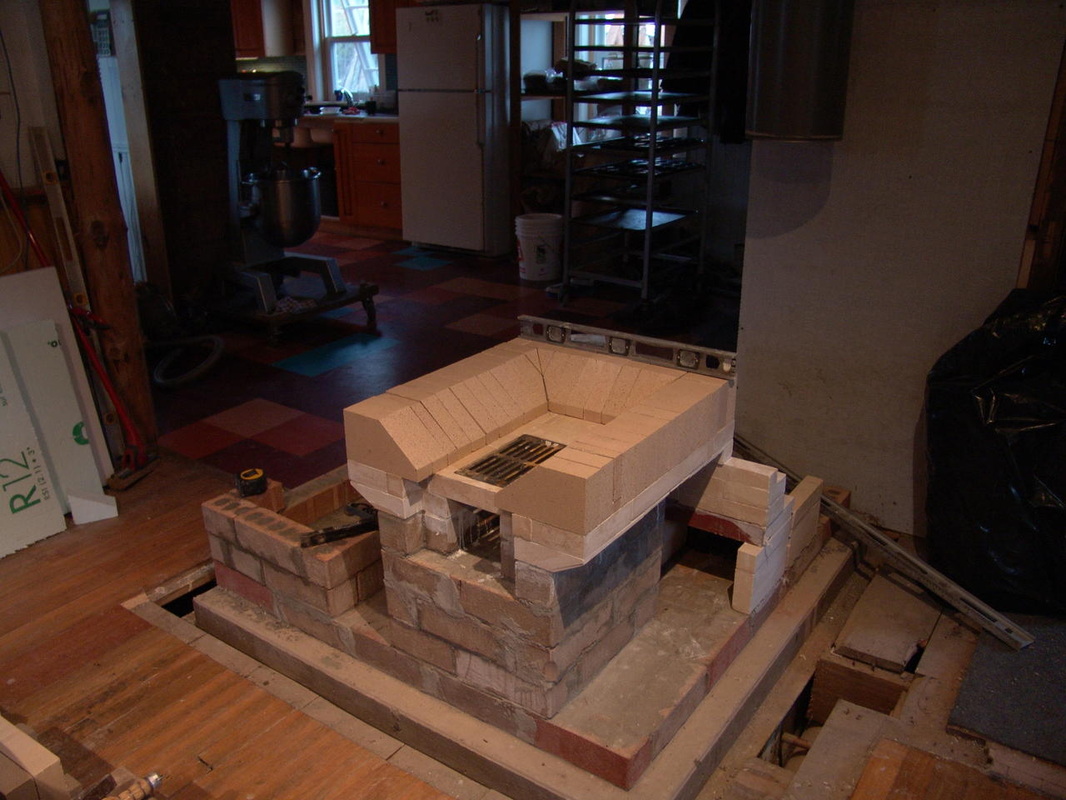
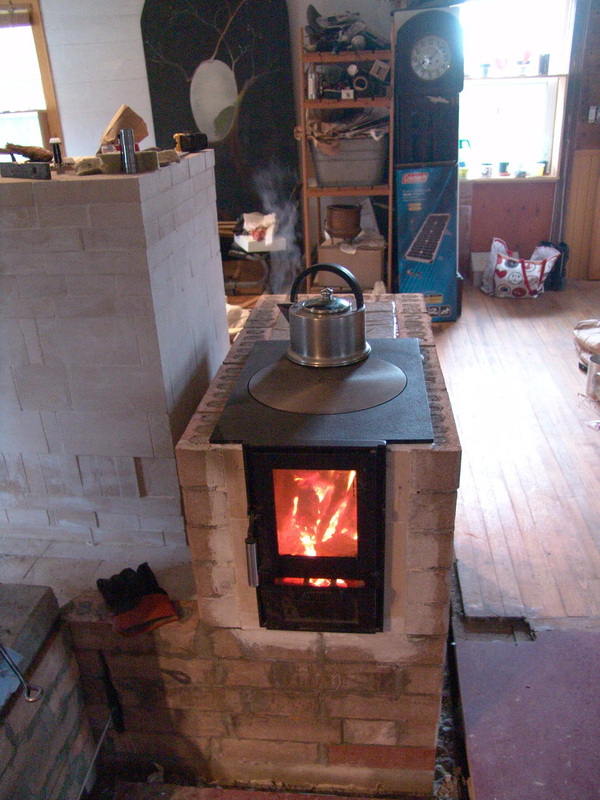
The rest of the stove laid up well and the bell chamber was done.
One small wrinkle in the layout though is that since the bell chamber is at the "back" of the firebox we have to be careful when we put wood in. We can't just toss it in or the wood bashes into the bell chamber brick. With the cooktop and smoke channel closed and the chimney connection done we could put the cooktop to use while I finished the heater. Some of the pressure was off.
I had to re-learn how to start a fire though, the draw in the smokebox is so strong it can burn up paper before it will ignite the wood. |
The Heater
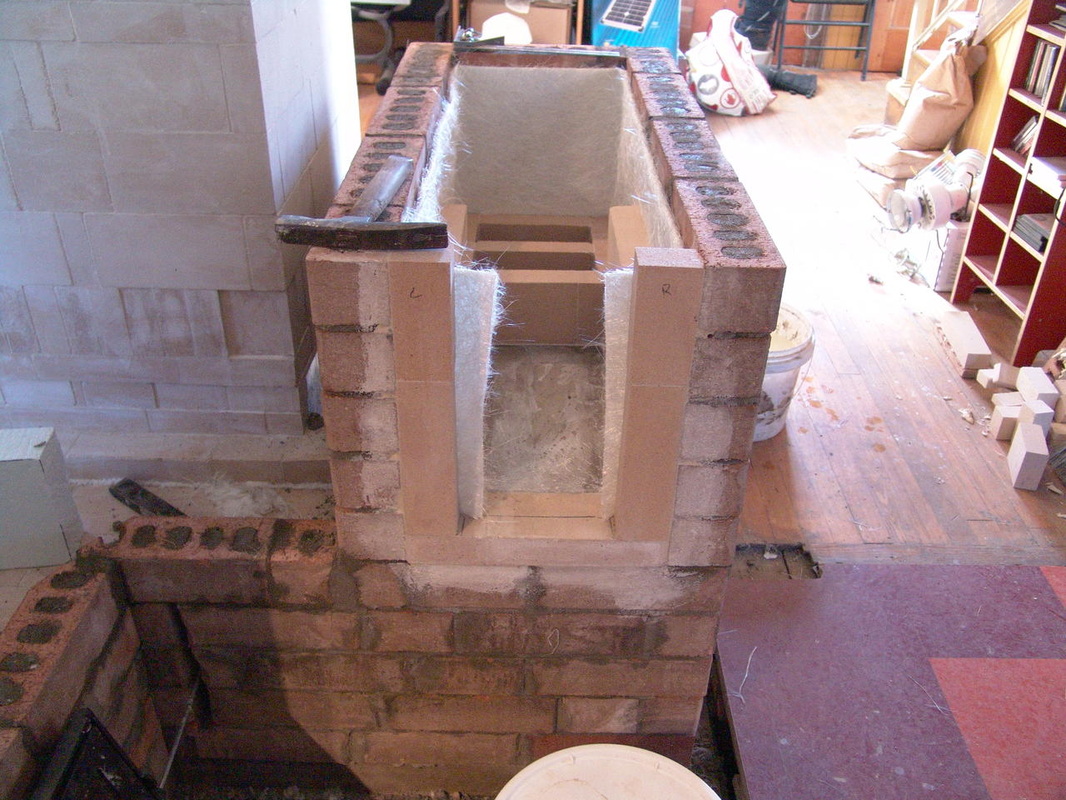
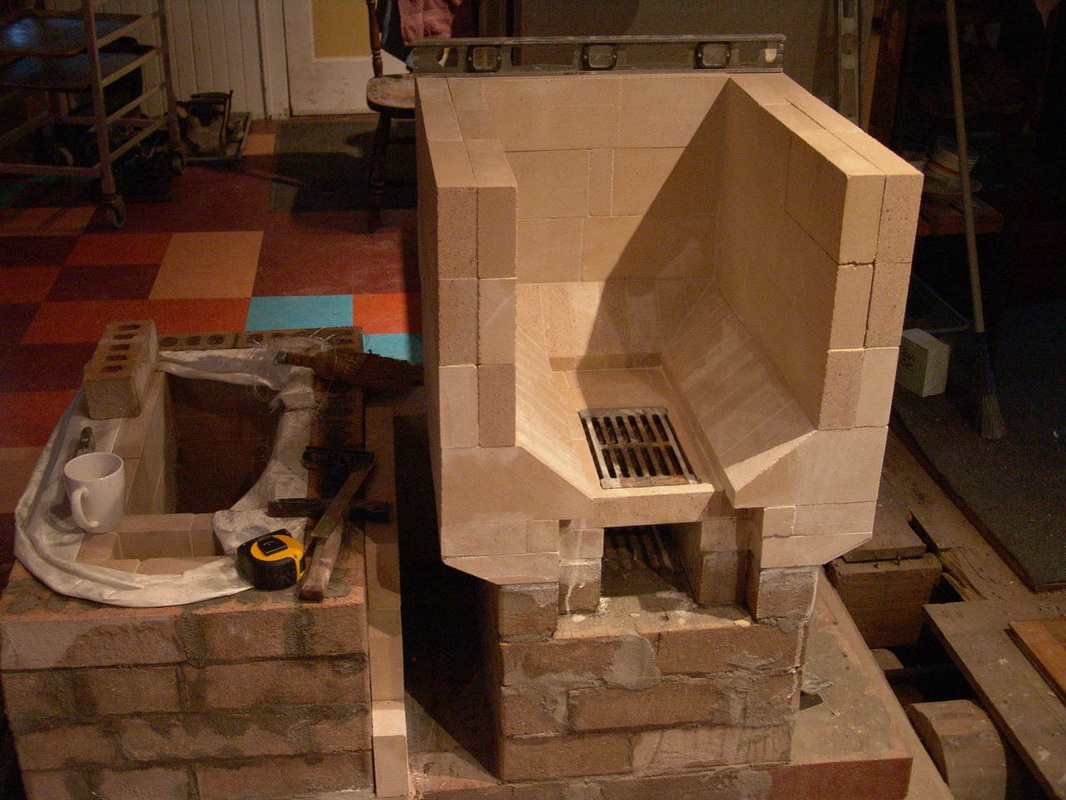
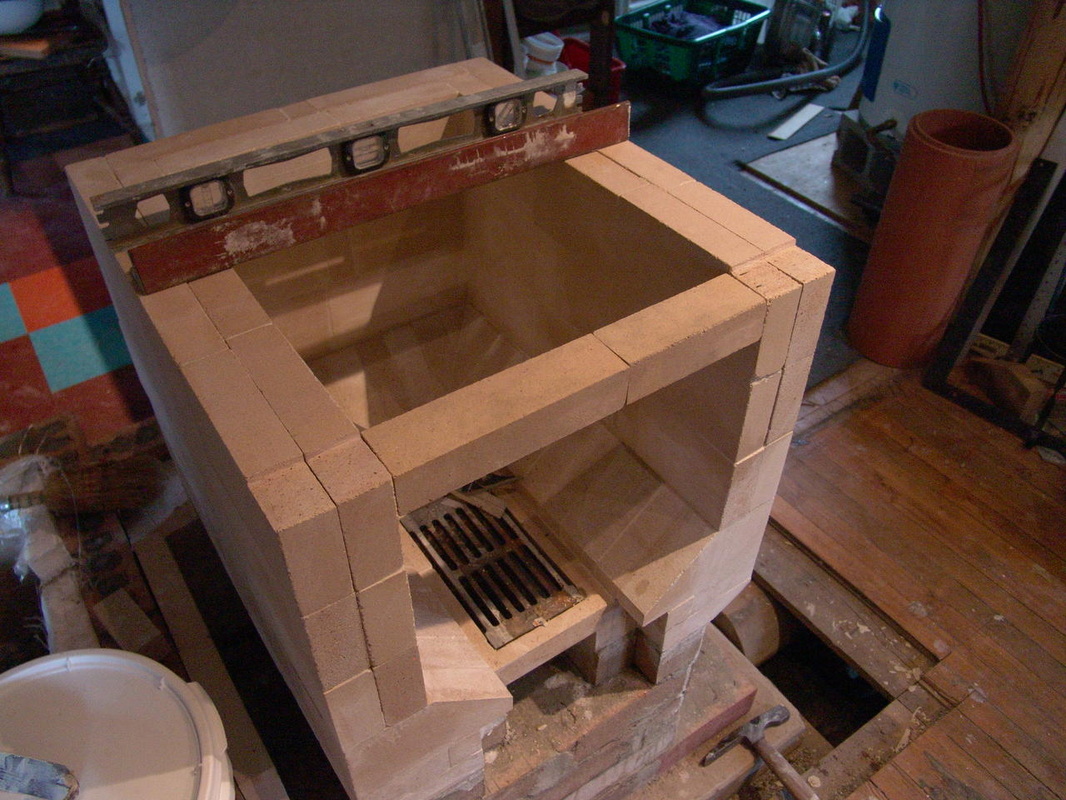
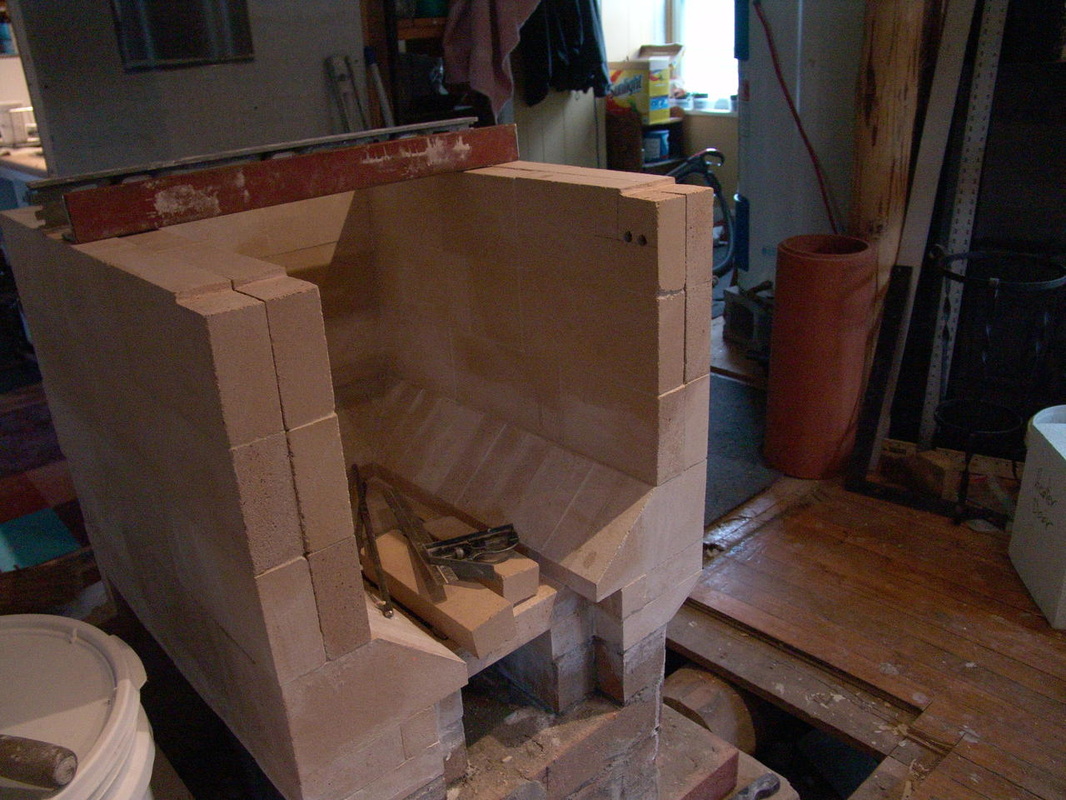
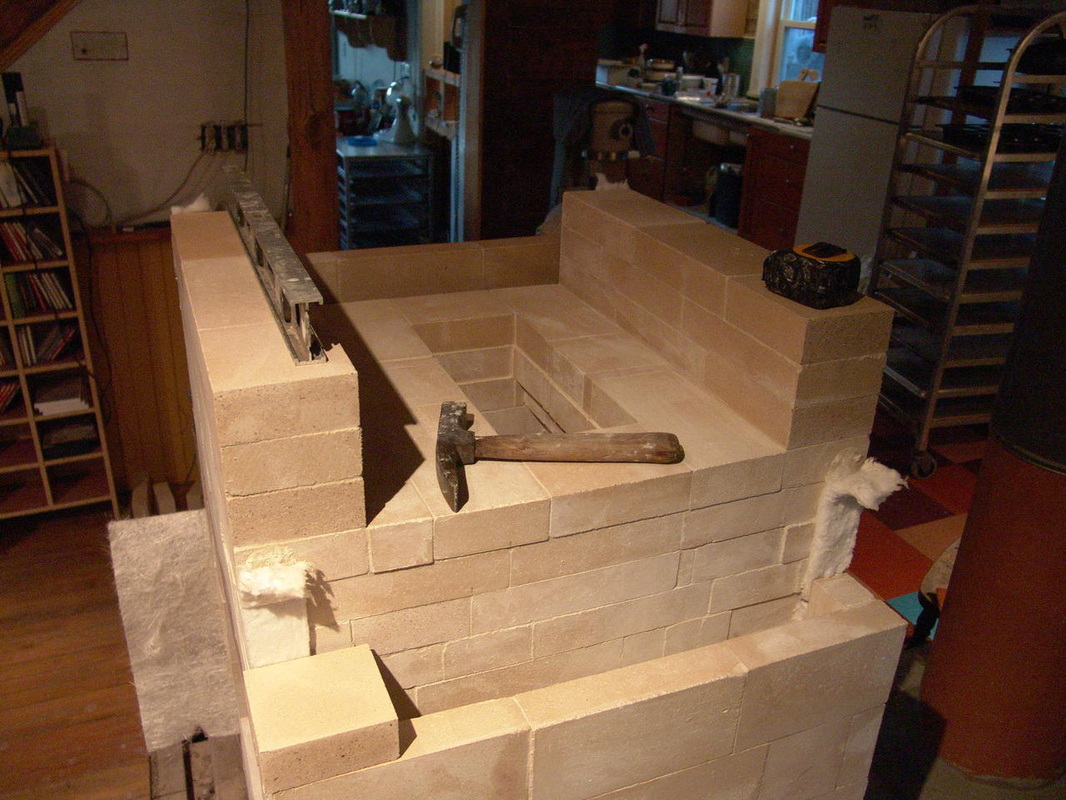
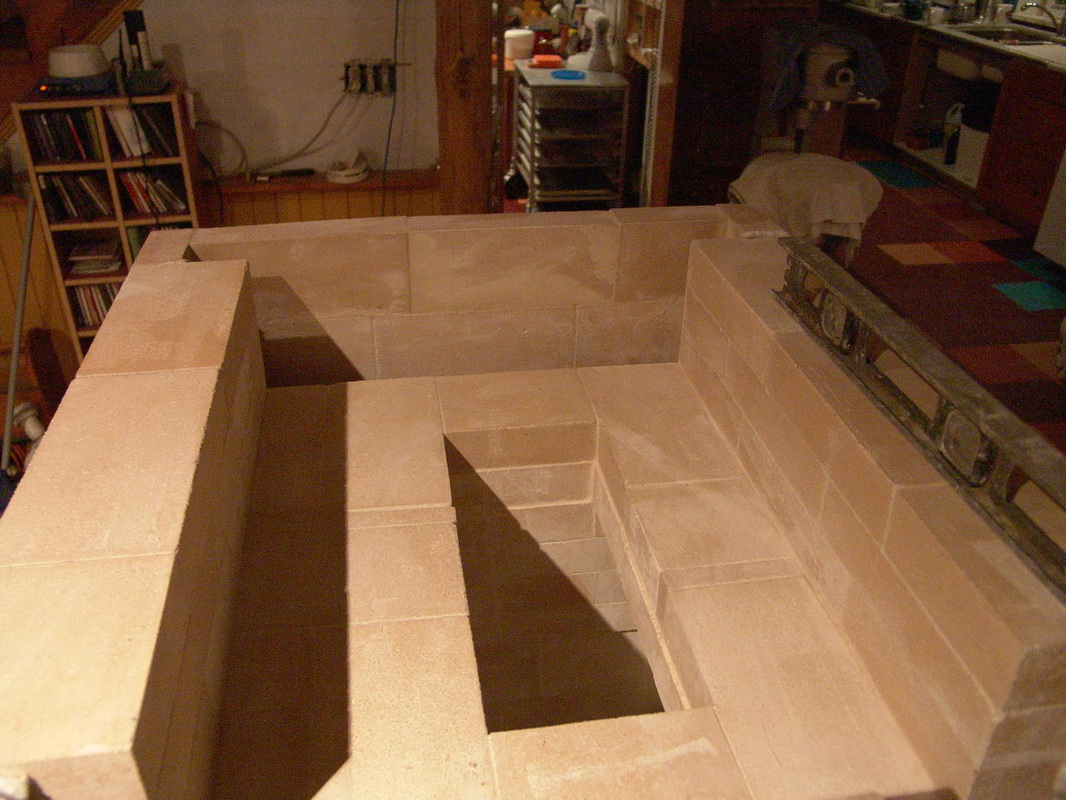
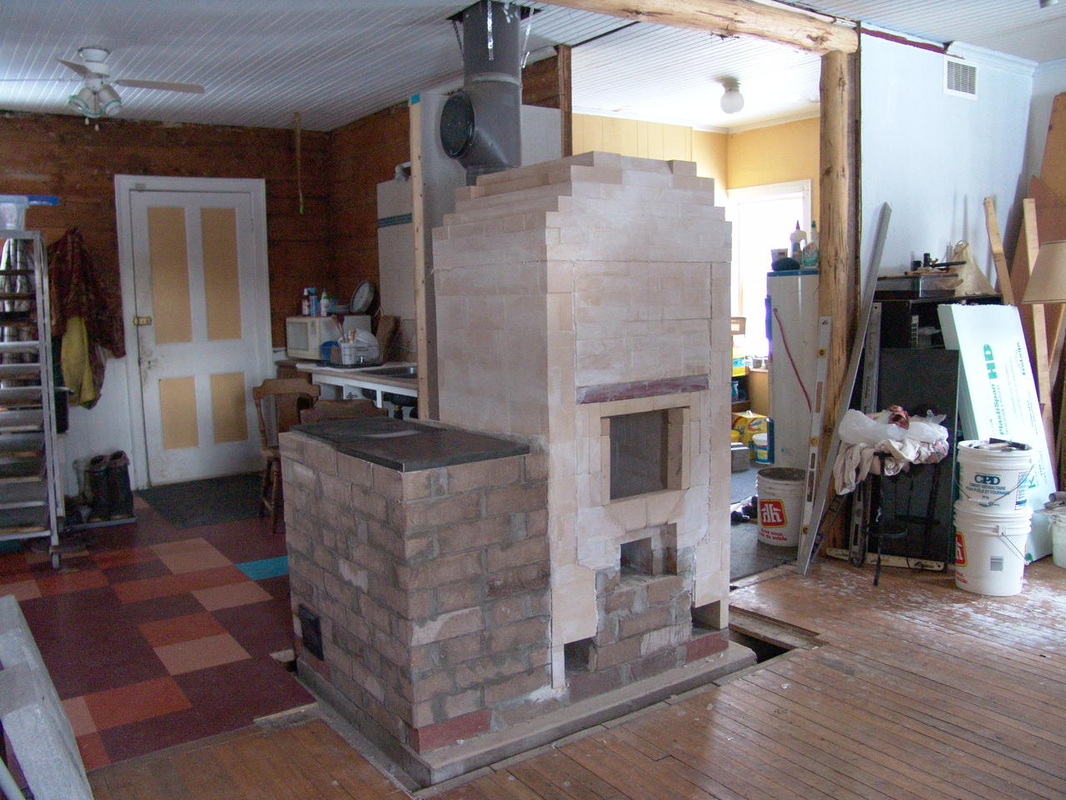
As you can see in the pictures so far the heater core is going up at the same time as the cooktop is being finished, so we need to backtrack a bit.
I'm doing a reasonable job of keeping the brickwork neat, straight and level but this is not a professional job and I'm likely never going to build another one. I am planning on build a second bake oven they are simple compared to this.
I'm doing a reasonable job of keeping the brickwork neat, straight and level but this is not a professional job and I'm likely never going to build another one. I am planning on build a second bake oven they are simple compared to this.
|
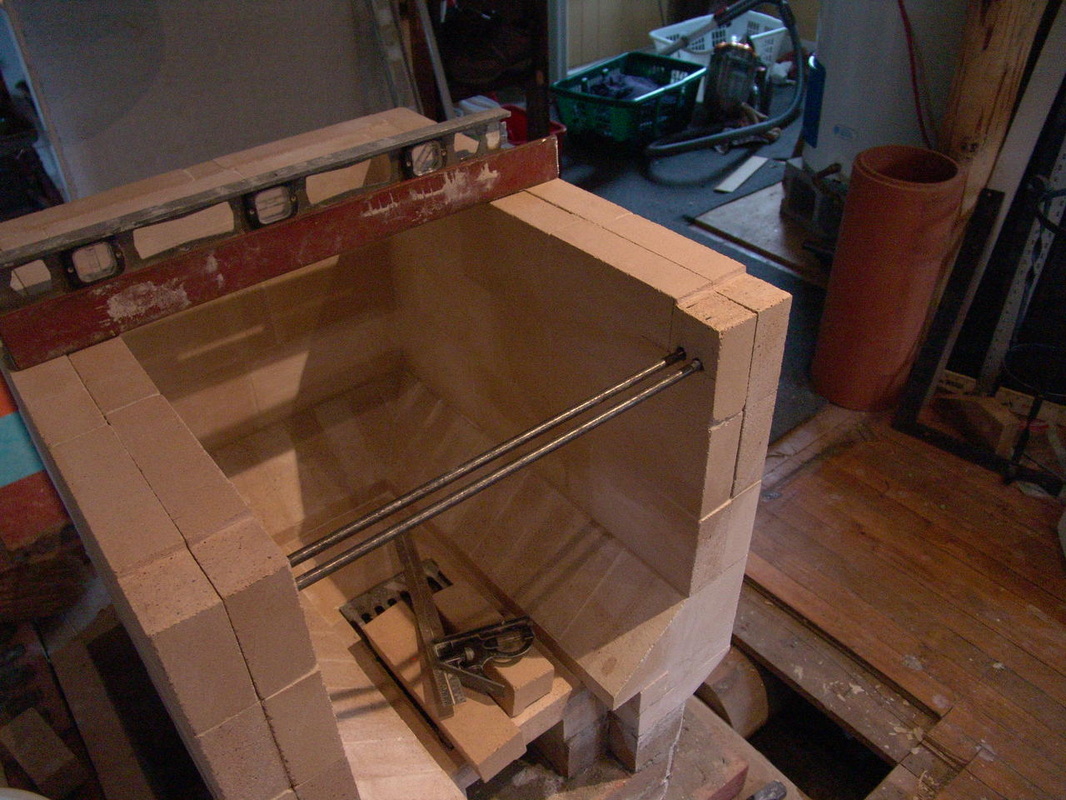
I did make a change to the general solution to putting in shield bricks above the door. The examples I've seen weld flanges to the bottom of the angle iron over the door opening. I choose to put a couple of steel bars in to hold up the brick and eliminate the gap caused by the steel flanges.
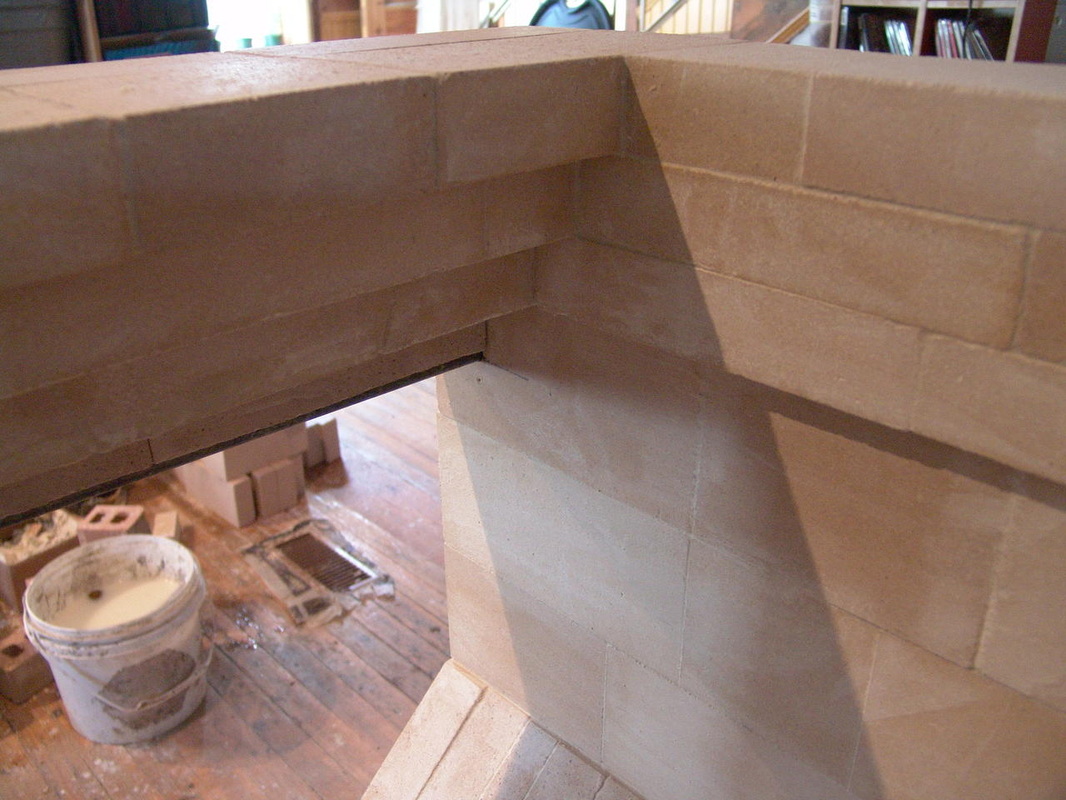
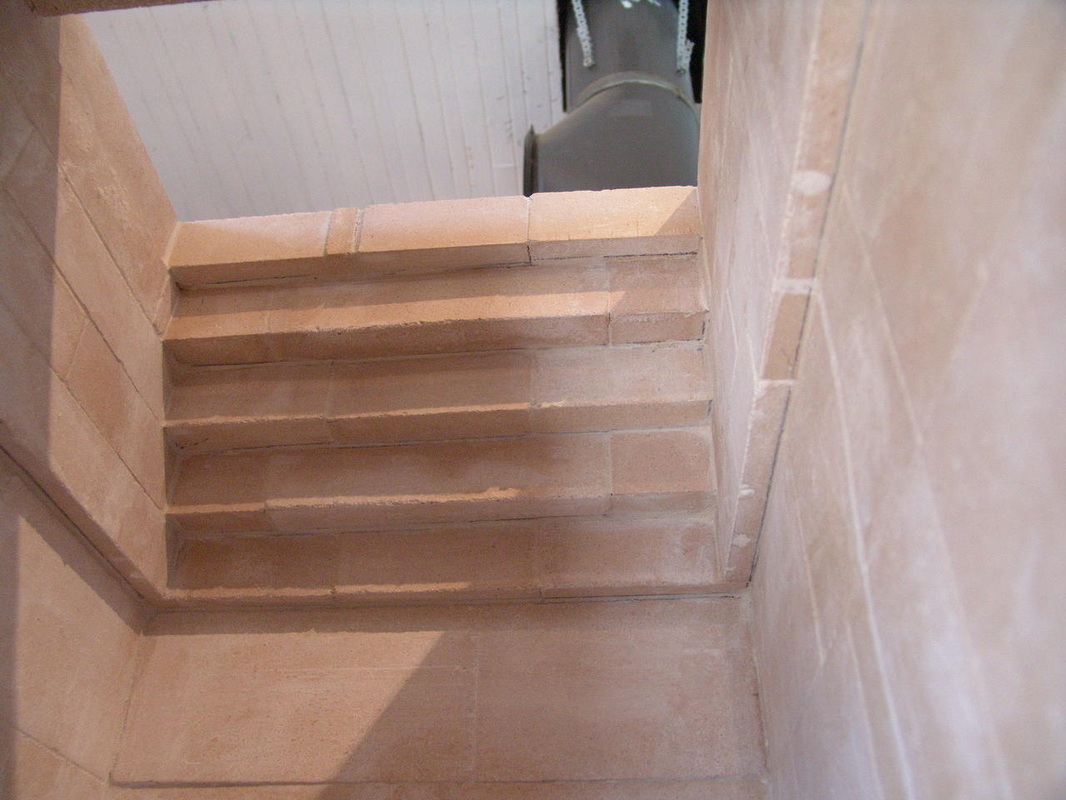
The corbeling and working up the side channels is fairly straight forward.
There is no oven in the heater, just the upper burn chamber. |
Exterior cladding
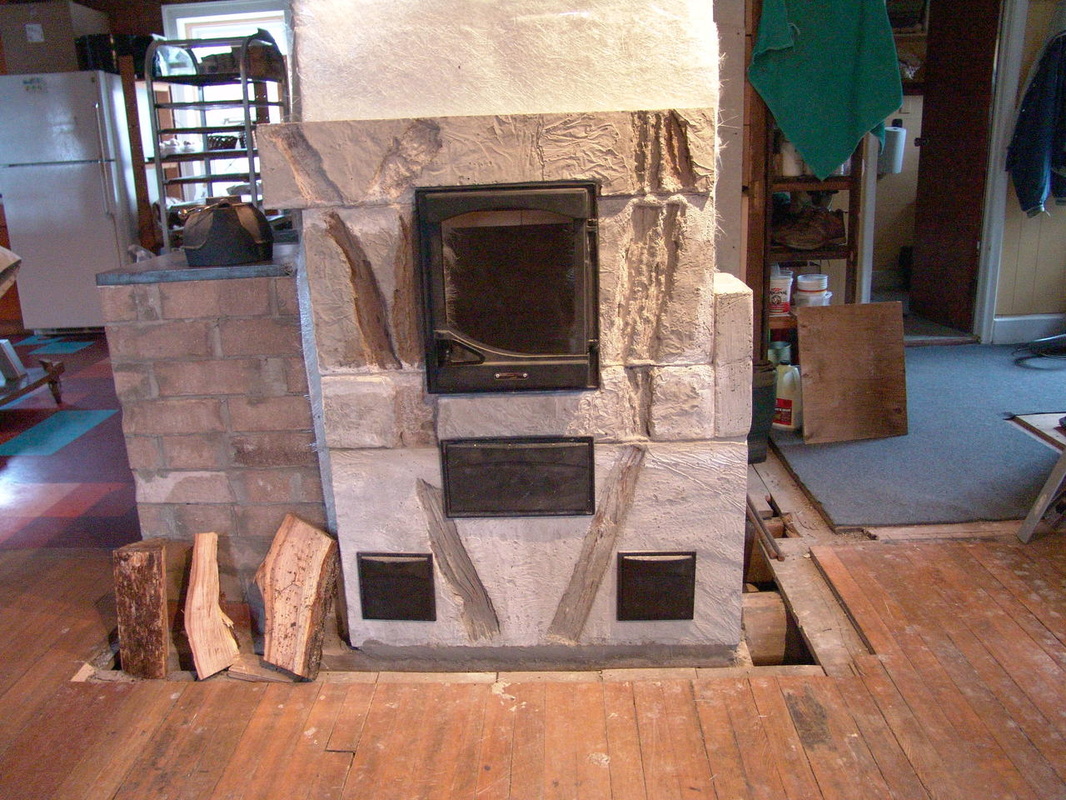
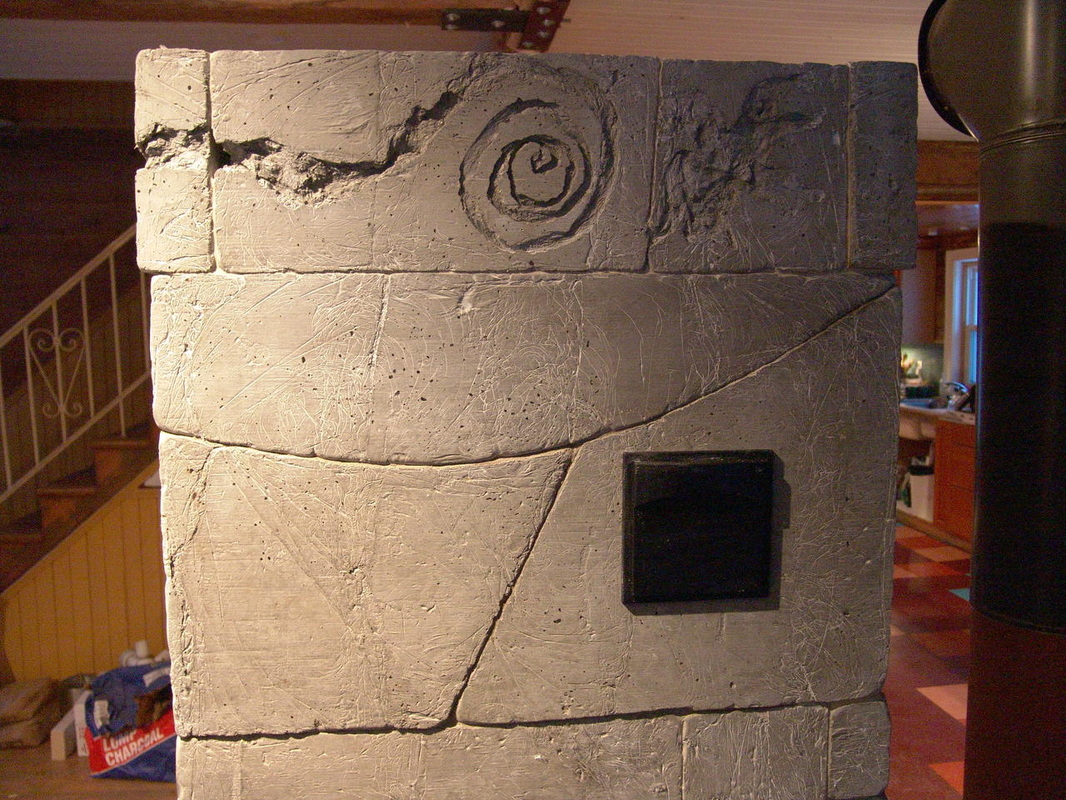
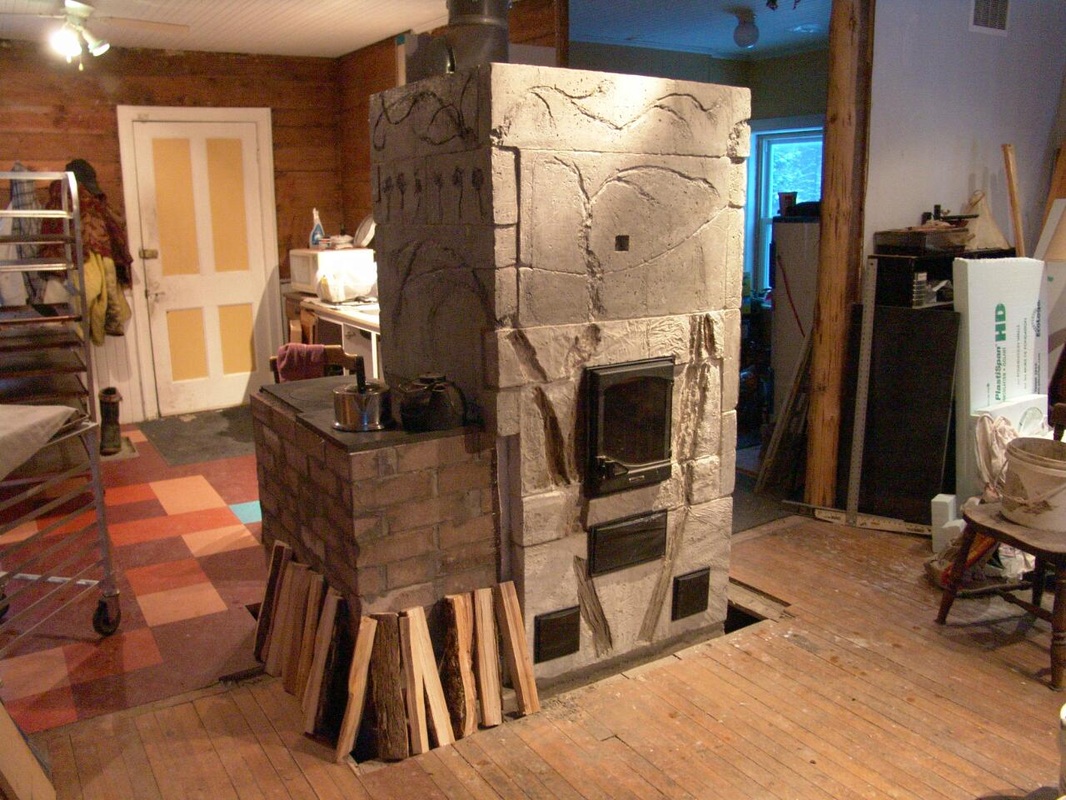
As mentioned near the beginning I elected to use concrete to clad the exterior of the heater. Partly this was economics, cement is cheap and I have a pile of aggregate on the property. Partly though this was where I could play and cast piece as I wished. I didn't really have a particular plan in mind, it was a matter of working with what I had and how big a piece did I want to lift into place.
|
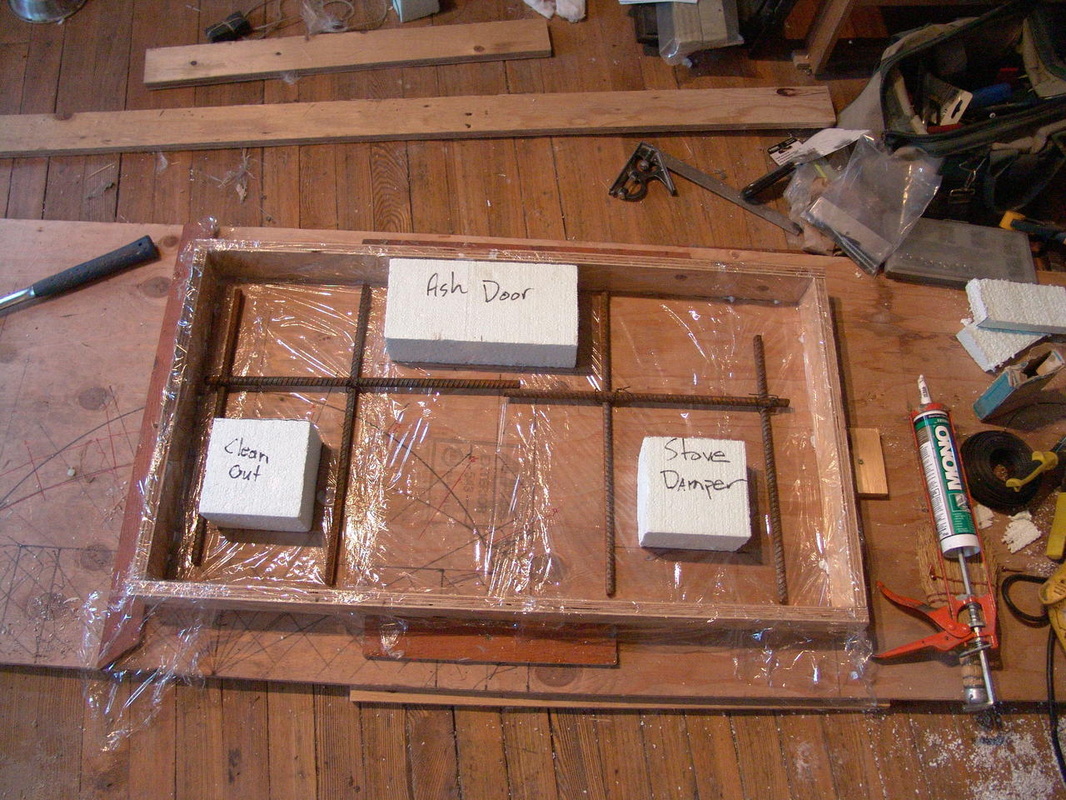
I formed up pieces as I went. The important pieces that had essential opening needed to be reasonable large and had rebar in them. As soon as the concrete was set each piece what put in place; this usually meant about 24 hours.
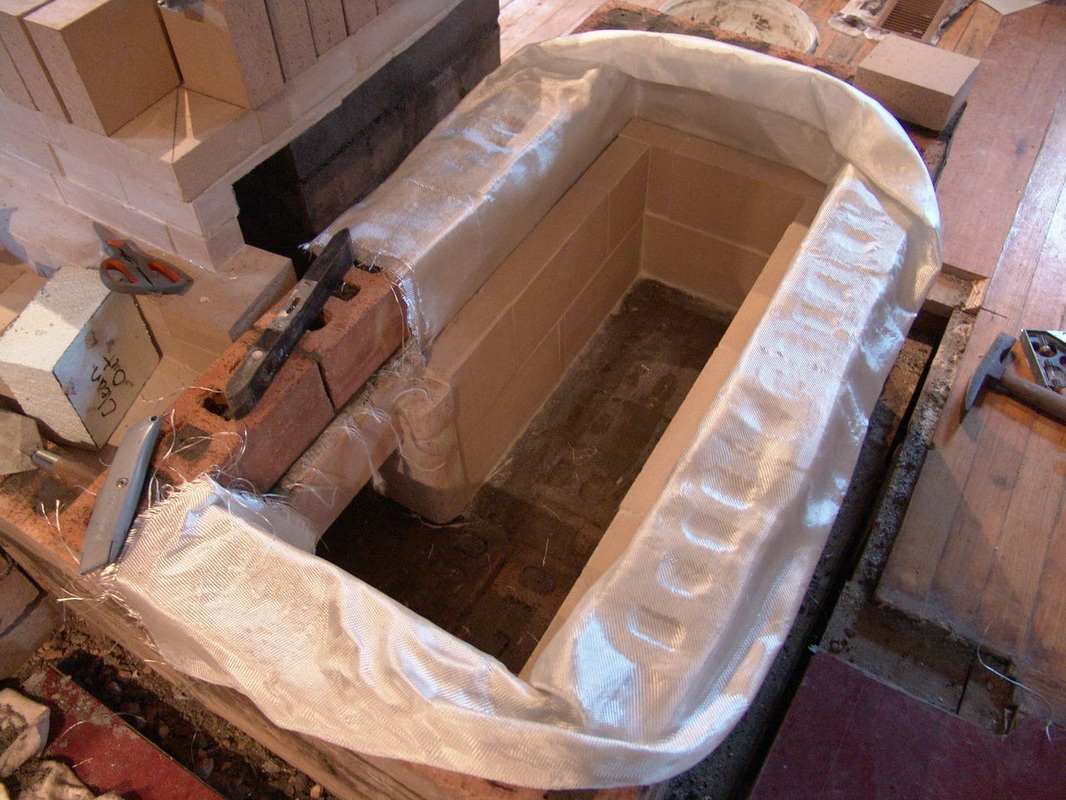
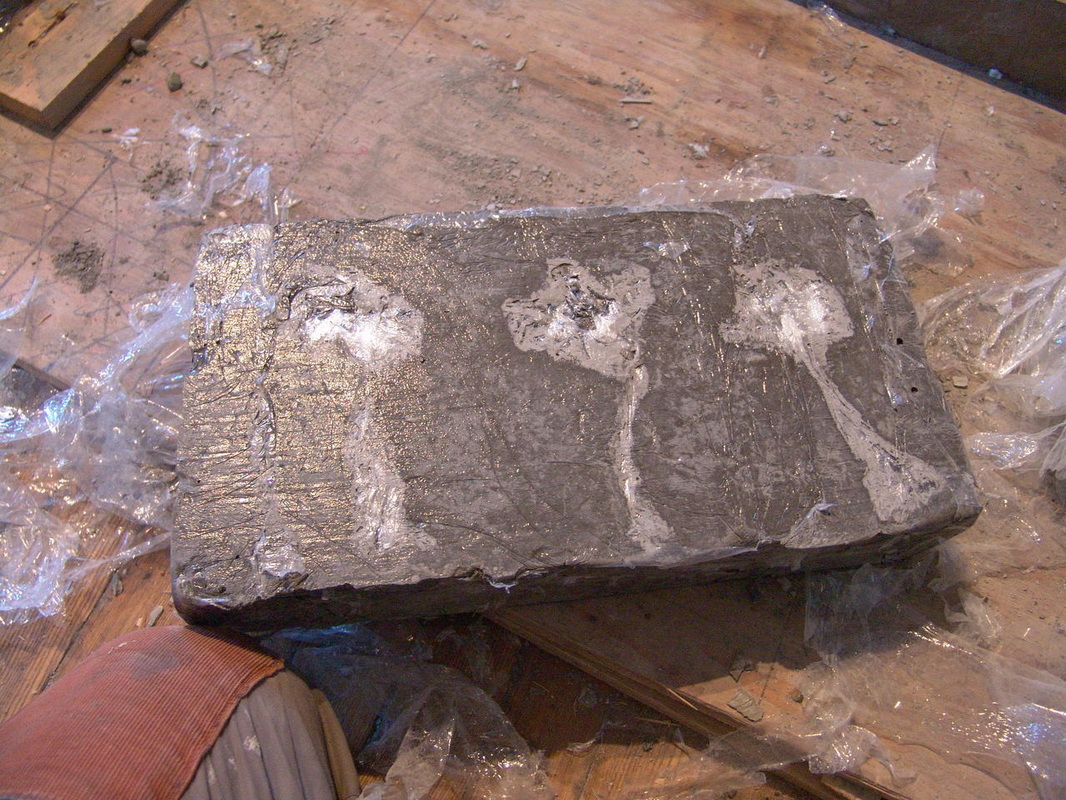
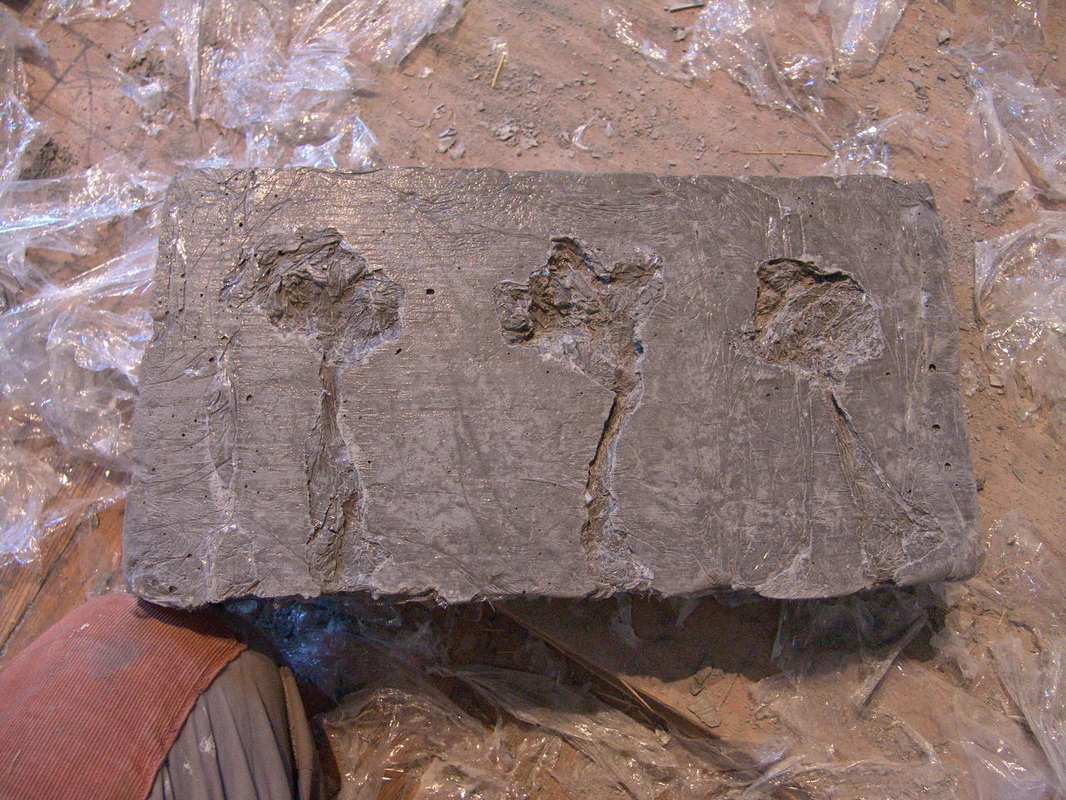
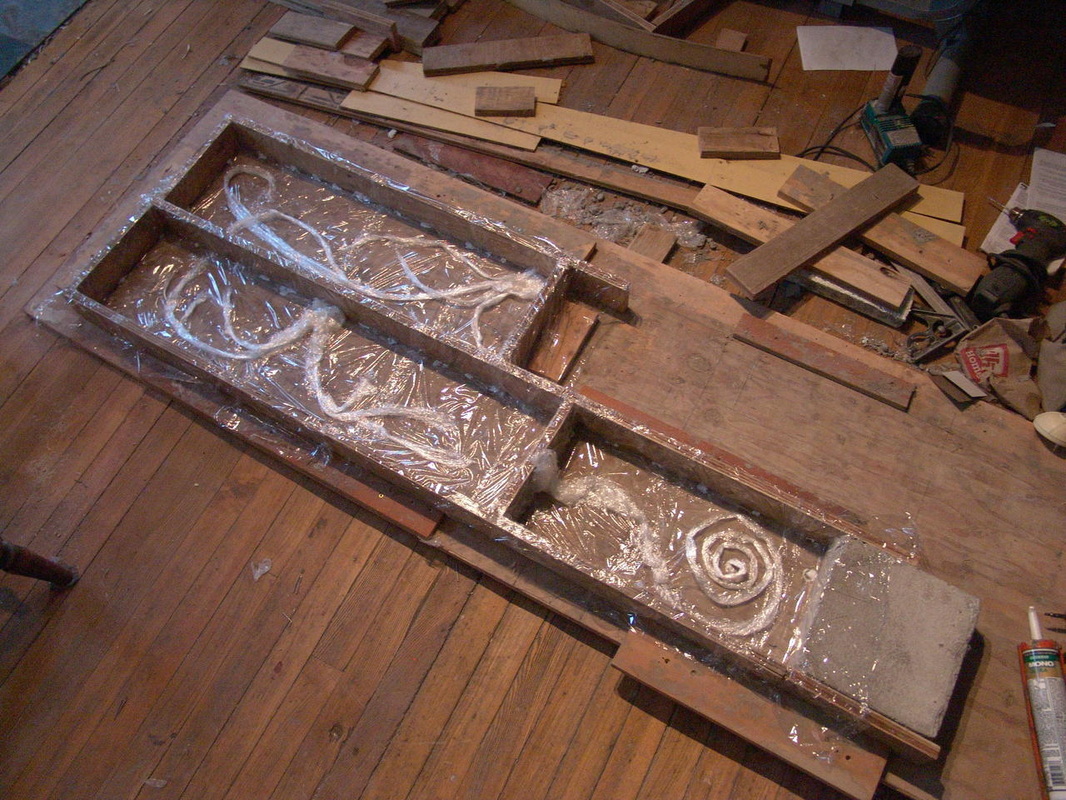
From the examples I read about the fibreglass expansion gasket was usually two layers on the sides and four layers front and back. I found, in my case, this heater expanded in its width just as much as in depth and I could have put more layers on the sides. I used shrink wrap to line the forms and it turned out I liked the look of the inside surface of the concrete; the finished was smooth and looks like soapstone. I bunch up additional shrink wrap to create shapes.
|
The indentation you see in the concrete is from tree bark pushed into the surface.
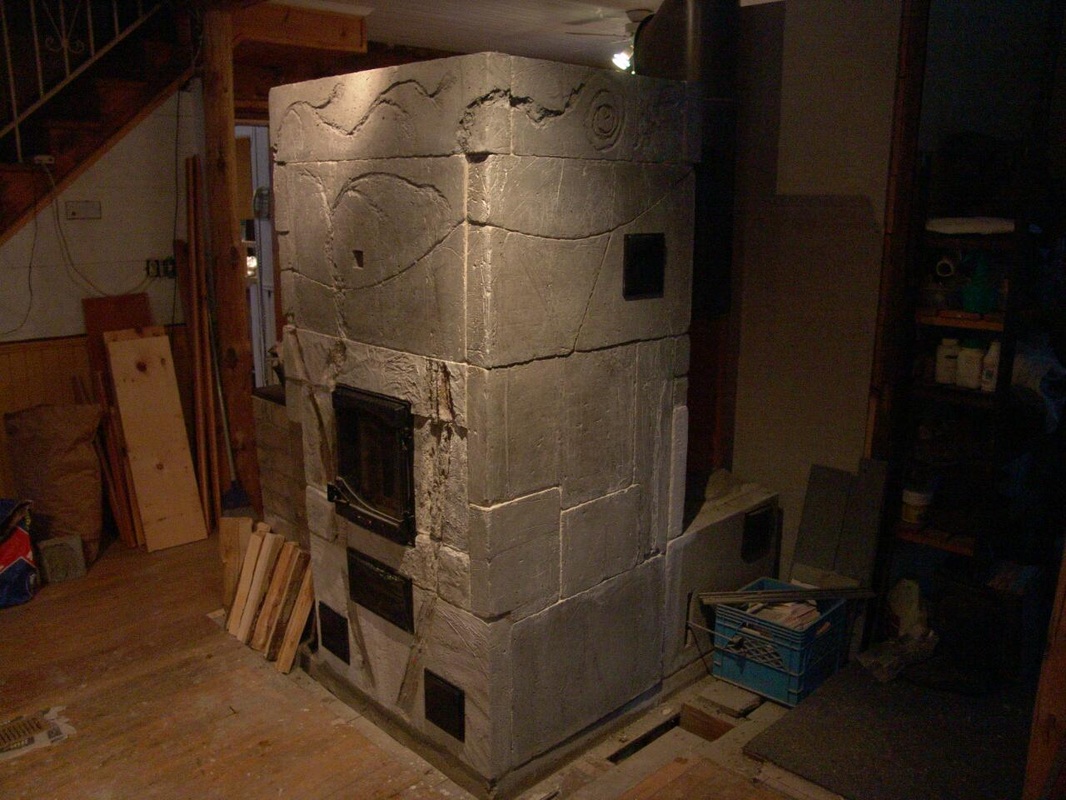
I was after a fairly raw, primitive look of asymetrical interconnected blocks. It's not done
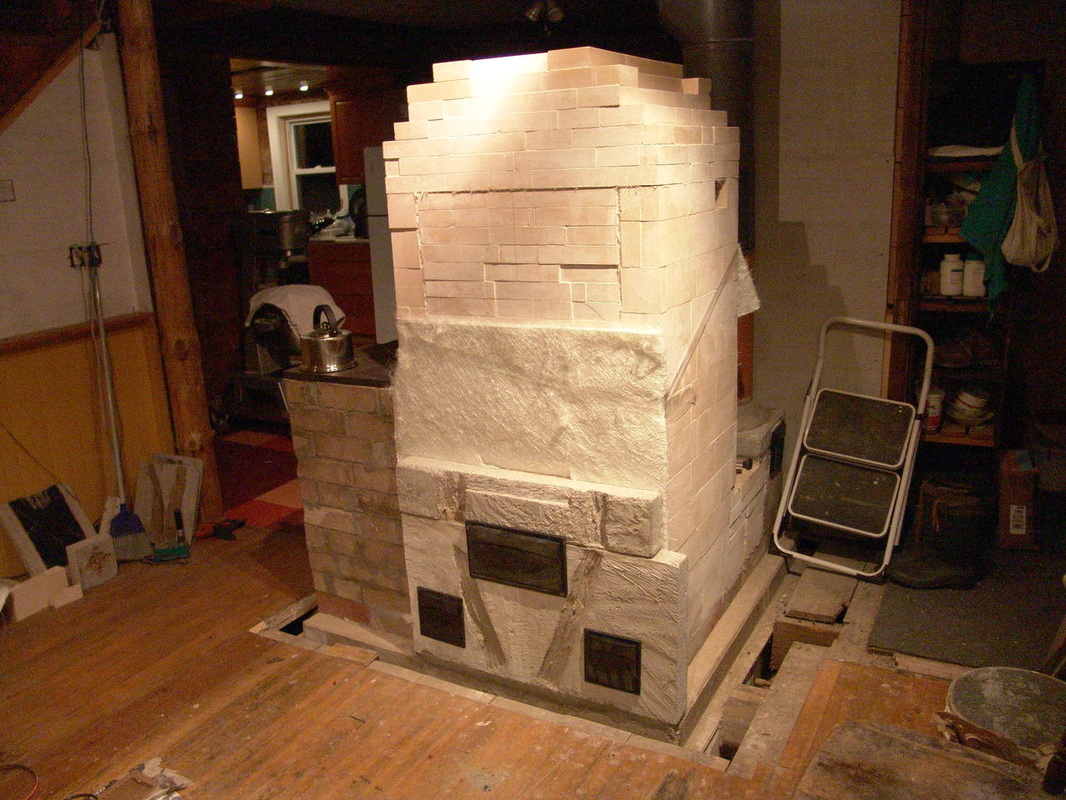
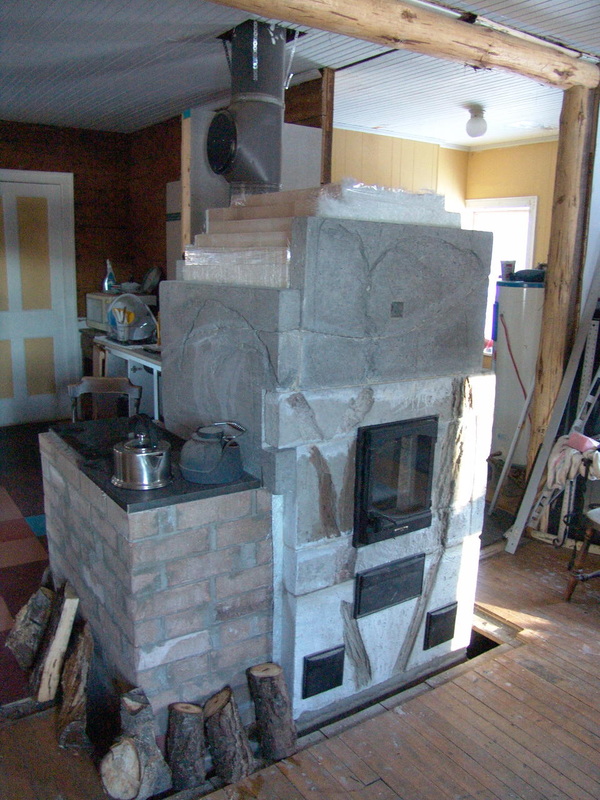
So, the heater isn't completely done. There's no cap. That's partly because I ran out of time, the weather got cold and I needed to put it to work. Just as importantly though, there was no time to allow all the concrete pieces to properly cure before they were put in place. I had anticipated this so each piece is shaped to stay in place dry laid. While I did cement them in place I knew the cement wouldn't necessarily stick (and some of it didn't). So, I knew I'd need to take down some of the top pieces this spring and re-intall them. The precluded putting a cap on the heater. Thus the top of the each is covered in sand, about a foot thick.
As I'm writing this just as spring breaks I can tell you that both the stovetop and heater have work marvelously. The heater does indeed perform well enough to replace the oil heater which was the objective. This is a big, old drafty house and as we continue to improve the insulation of the place it will become even easier to keep the place warm. |
