Preparing croissant dough:
We'll go through the basic steps of creating a sourdough croissant dough. While it may seem like a bunch of work and is complex, once you get a routine down, it is very straightforward.
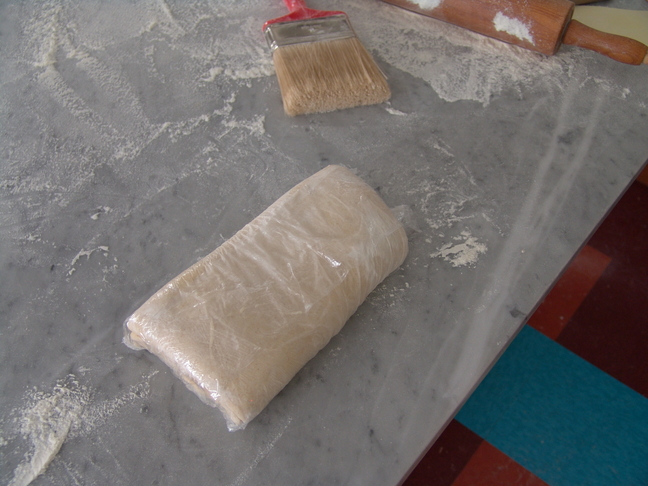
Like with our breads we take our time and creating croissants spans more than one day. This is primarily due to a need to freeze the completed dough, at least overnight. We have found that to ensure a nice crisply roll the dough needs to be thoroughly frozen and then thawed. The freezing adds a level of convenience since we can make up several batches and pull out what we need when called for. We don't however get too far ahead and don't level the dough frozen for more than a couple of weeks. |
Mixing day:
I can fit the preparation into our bread making schedule since each step doesn't take that long and there are gaps of time between steps. Obviously the first step is to mix the ingredients which include; warm milk, melted butter, leaven, flour, a bit of salt and instant yeast.
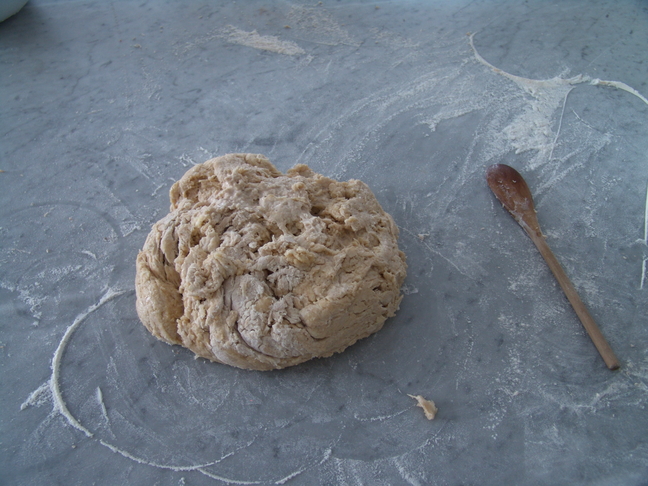
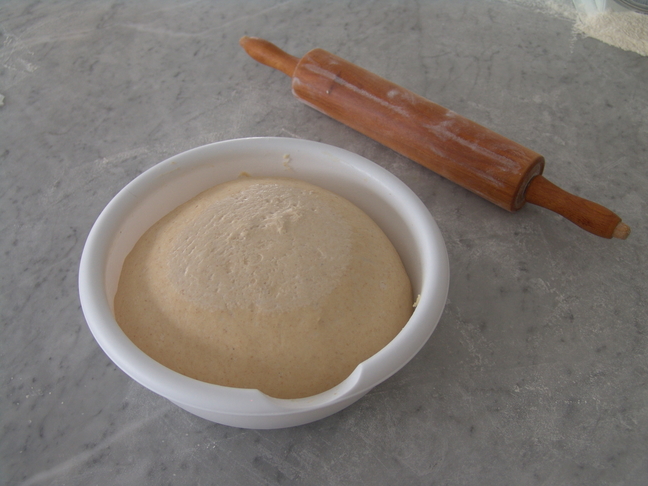
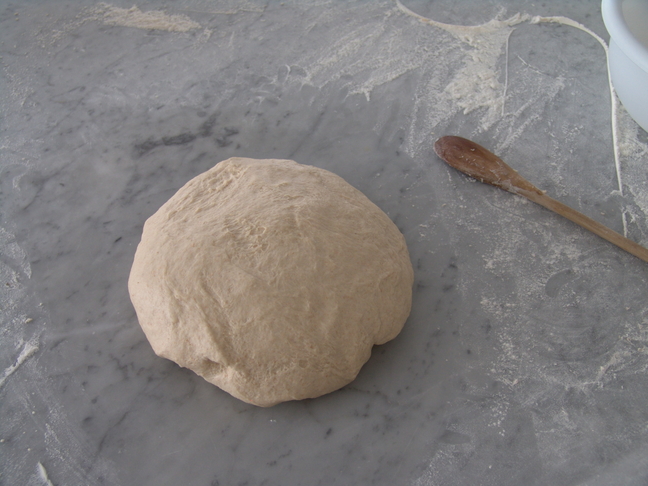
The yeast is more for flavour than anything else; you can leave it out but I've found I prefer the yeast flavour. To the right are the ingredients folded together and below that is the dough after about 5 minutes of kneading. It works up very easily. This is going to make two batches of croissants, about 48 of them. Directly below is the dough just out of the fridge after about 2 hours of cooling. The dough and the butter that we will be layering together work best if they are more or less the same temperature. |
Butter:
There's nothing special about the butter, just ordinary salted butter.
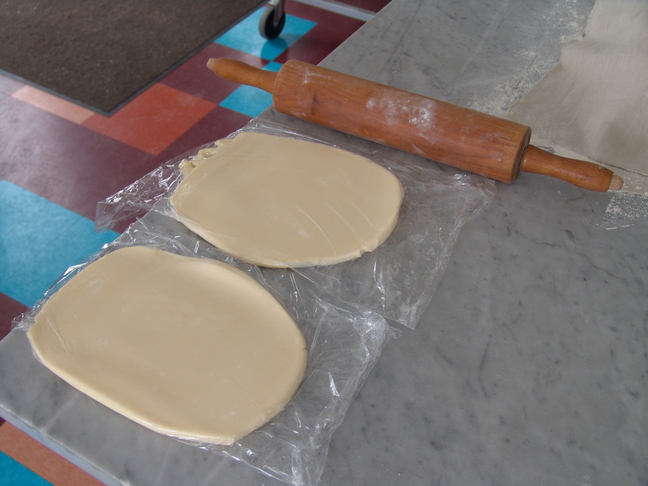
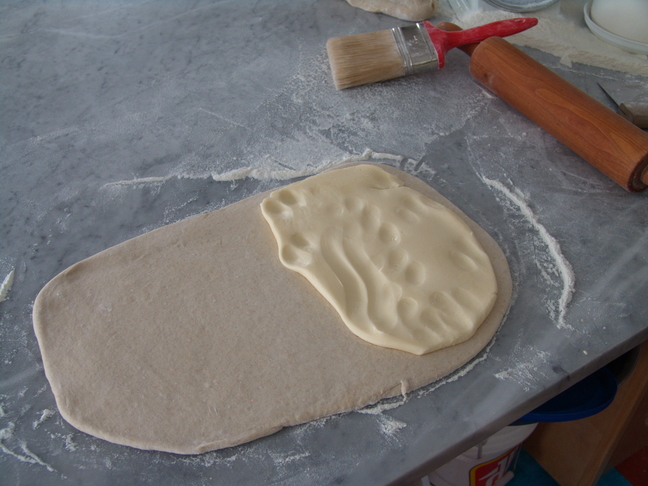
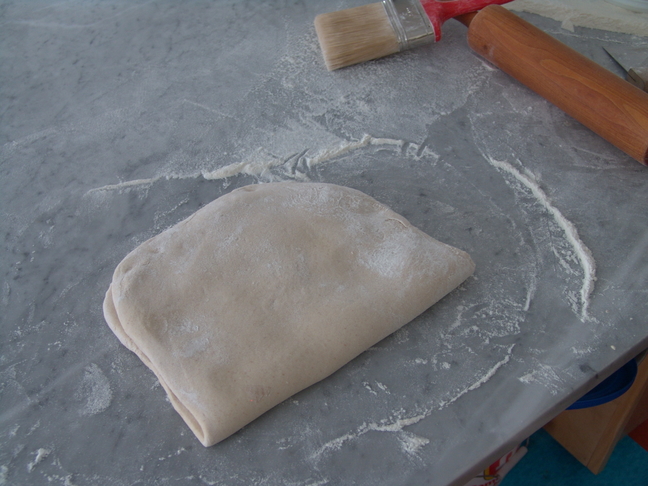
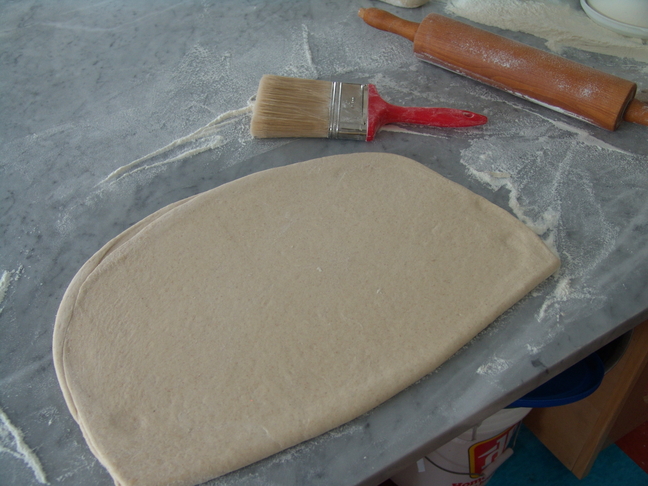
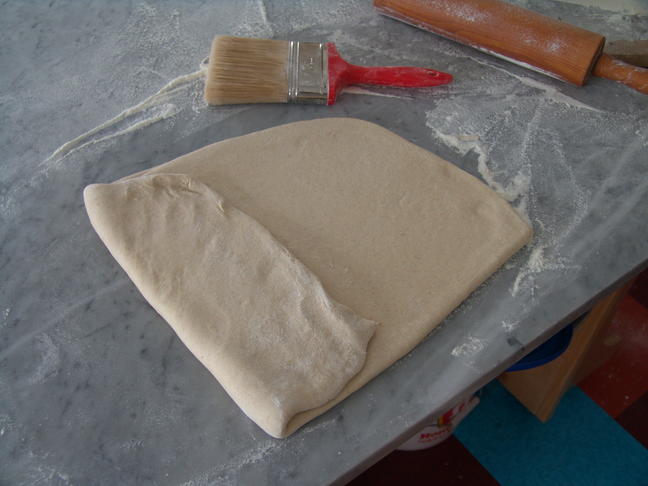
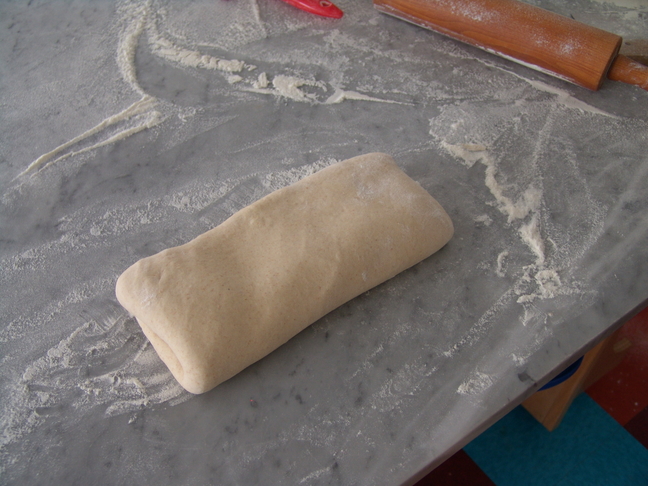
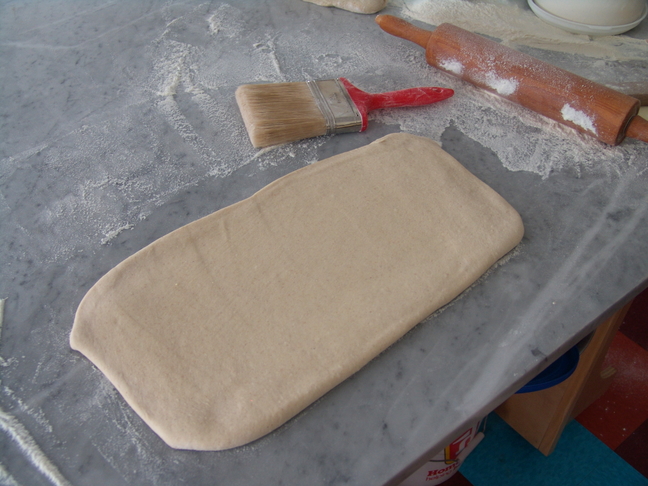
We roll the butter out flat in plastic wrap, which will also serve to wrap the dough when we freeze it. Each batch gets 300 g of butter. Below, the first sequence of images starts the layering; from left to right. We've rolled out the dough and placed a layer of butter on half of it, then folded the dough to cover the butter and on the right, rolled the dough. I find it helpful to use a brush to take the extra flour off before folding. As well, I flip the dough over after I've rolled for a bit and finish rolling. The layers don't move together and by flipping it I can roll the layers more evenly. |
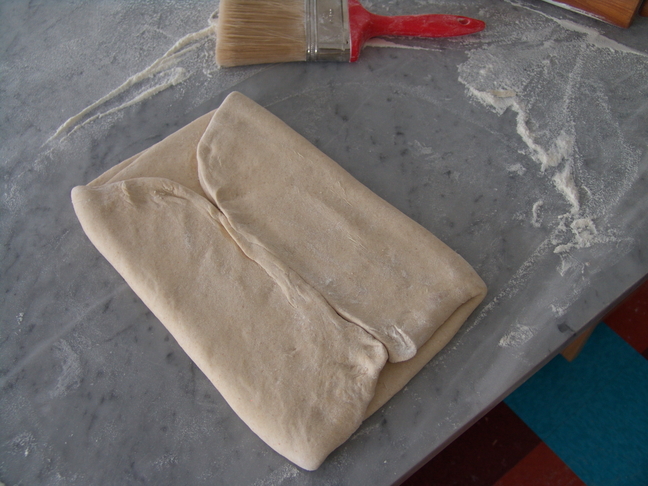
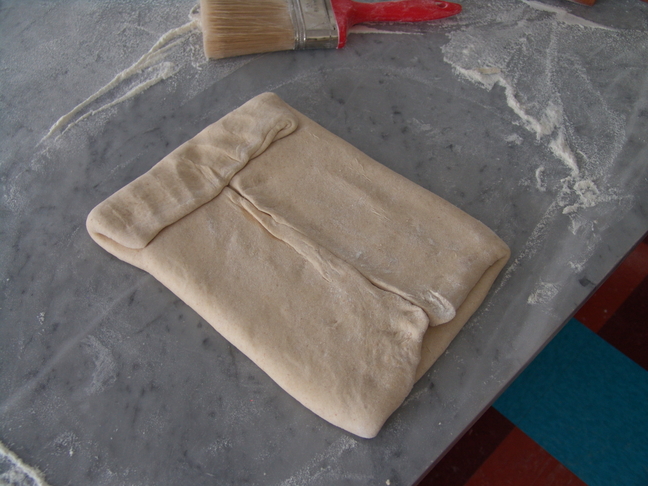
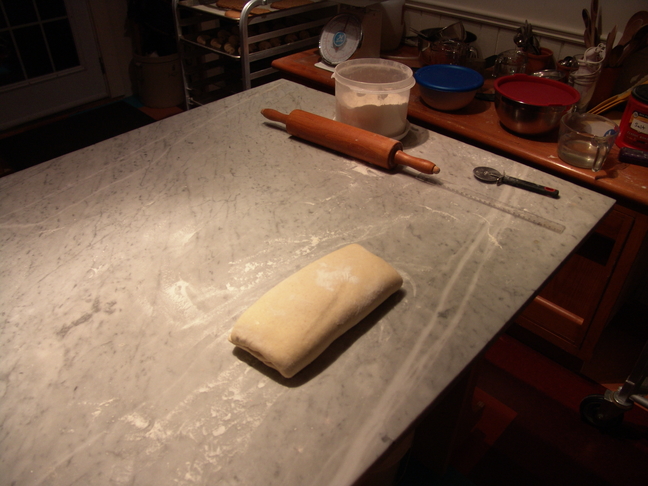
The next sequence of images, below from left to right, shows the folding method I use. Most instructions you find the suggestion is to continue to fold in half. The way I'm doing it provides a quicker way of generating multiple layers.
I fold into the middle. Look at the image above right, the seam of the initial fold is at the bottom and tends to make the dough thicker at the bottom. When I fold the dough, as in the bottom images, the top of the dough in the pictures is somewhat thinner. As you can see in the bottom right image I solve this by folding a bit of the dough down from the top.
I fold into the middle. Look at the image above right, the seam of the initial fold is at the bottom and tends to make the dough thicker at the bottom. When I fold the dough, as in the bottom images, the top of the dough in the pictures is somewhat thinner. As you can see in the bottom right image I solve this by folding a bit of the dough down from the top.
Bake day:
We started making croissants because we can bake them first thing in the morning, before I put a fire in the oven. I can do this if I put a small fire in the oven at the end of the previous days bake and close the oven once the wood has burned down to coals. In the morning the oven will be around 450 F.
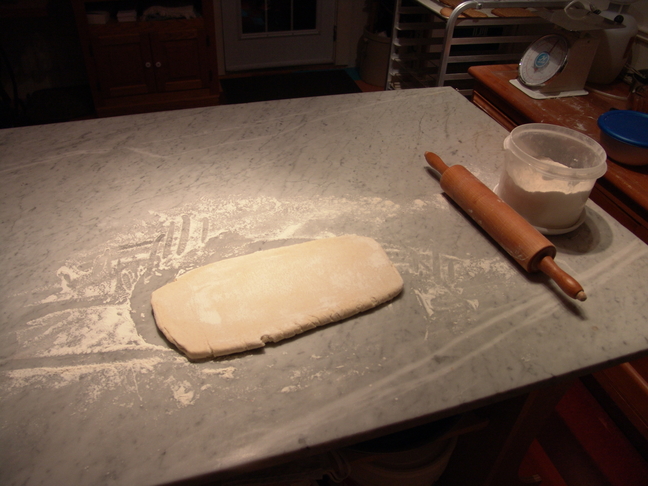
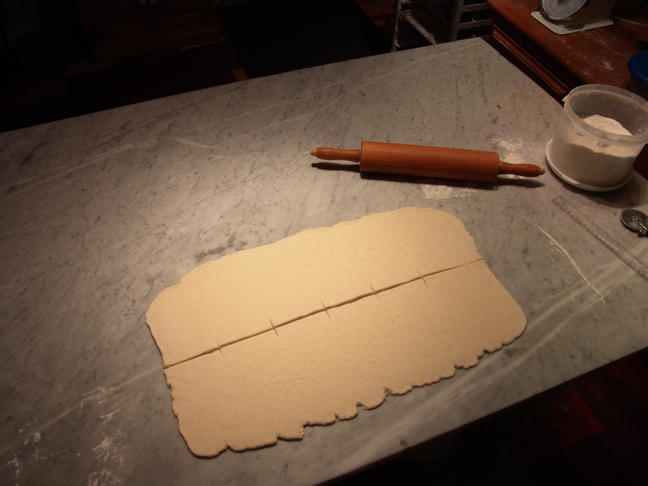
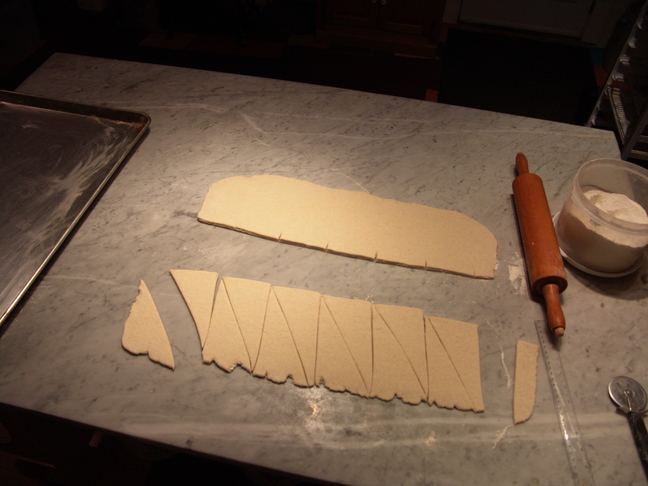
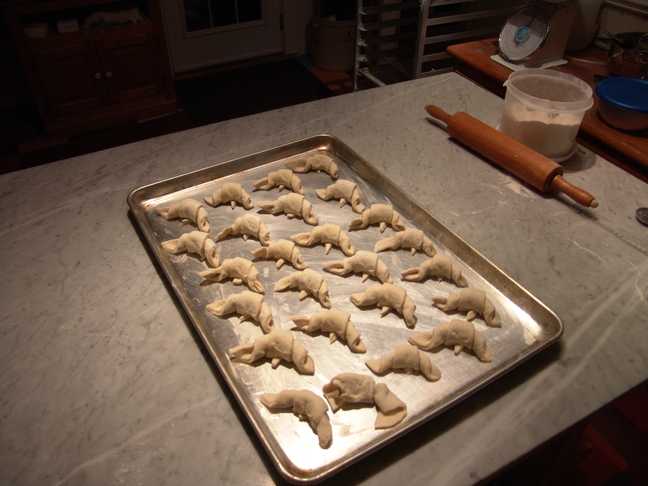
Of course the croissants can also be included in the regular bake schedule and done in the afternoon. In this example I'm baking first thing in the morning, so I pulled a batch of dough out of the freezer and put it in the fridge to gradually thaw for the morning. |
About the rolling pin:
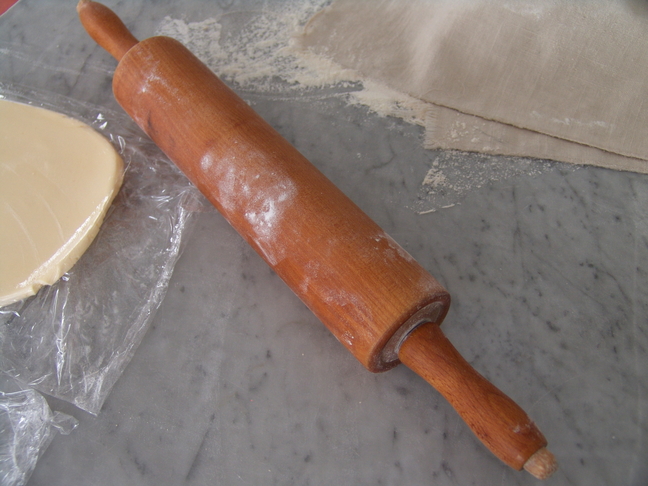
Generally a good quality rolling pin has a steel rod through the middle and bearings on the end, and that's what we use for most of our work.
Croissant dough is quite dense and stiff, since it is rolled out cold so the butter doesn't get too soft. This is hard on rolling pins. We have a different rolling pin for the croissants that has a solid wood shaft in the handles. The handles are hollow and are the only part that spins when we use it. |
|
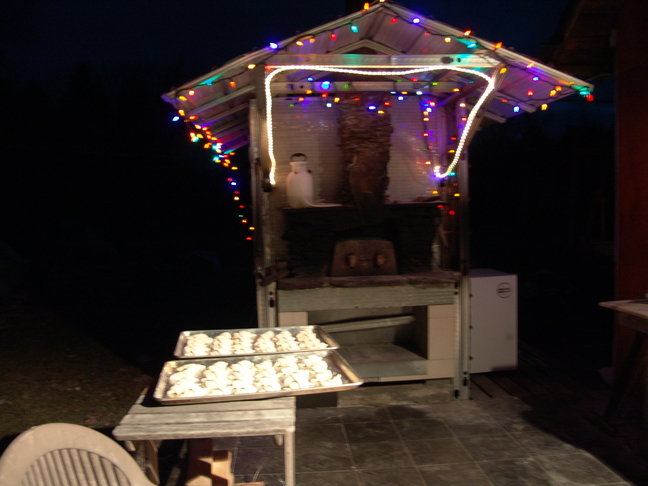
It's about 6:00am in the winter so it's dark out. The oven is lit up with lots of cheer.
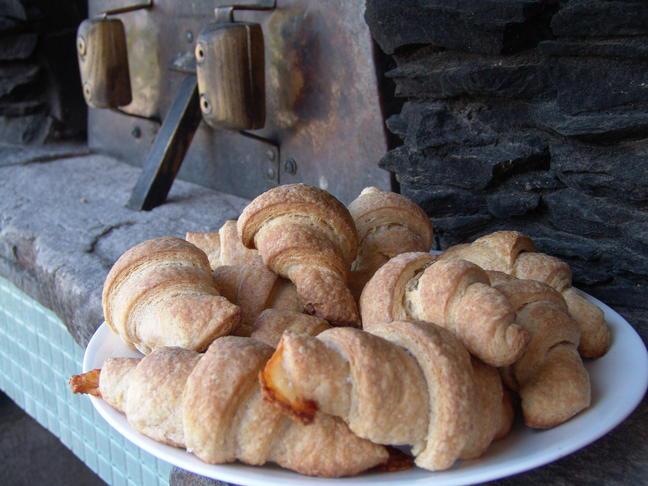
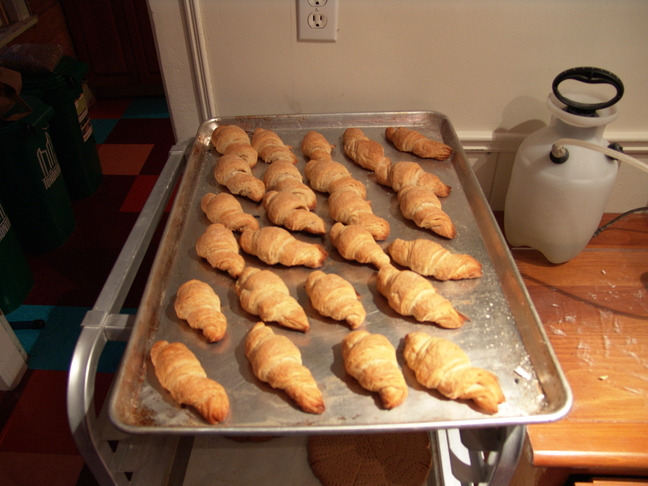
On the left side of the mantle you'll see a spray bottle. An essential element of baking croissants, just like our bread, is steam. When the croissants go in I need to spray water into the oven to generate some steam, to help the croissants puff up. They take a surprisingly long time to cook for being so small; about 20 minutes in a 450 F oven. Warning: croissants fresh out of a wood fired oven are highly addictive. |
